Thursday 31 January 2013

diy: simple lyric art


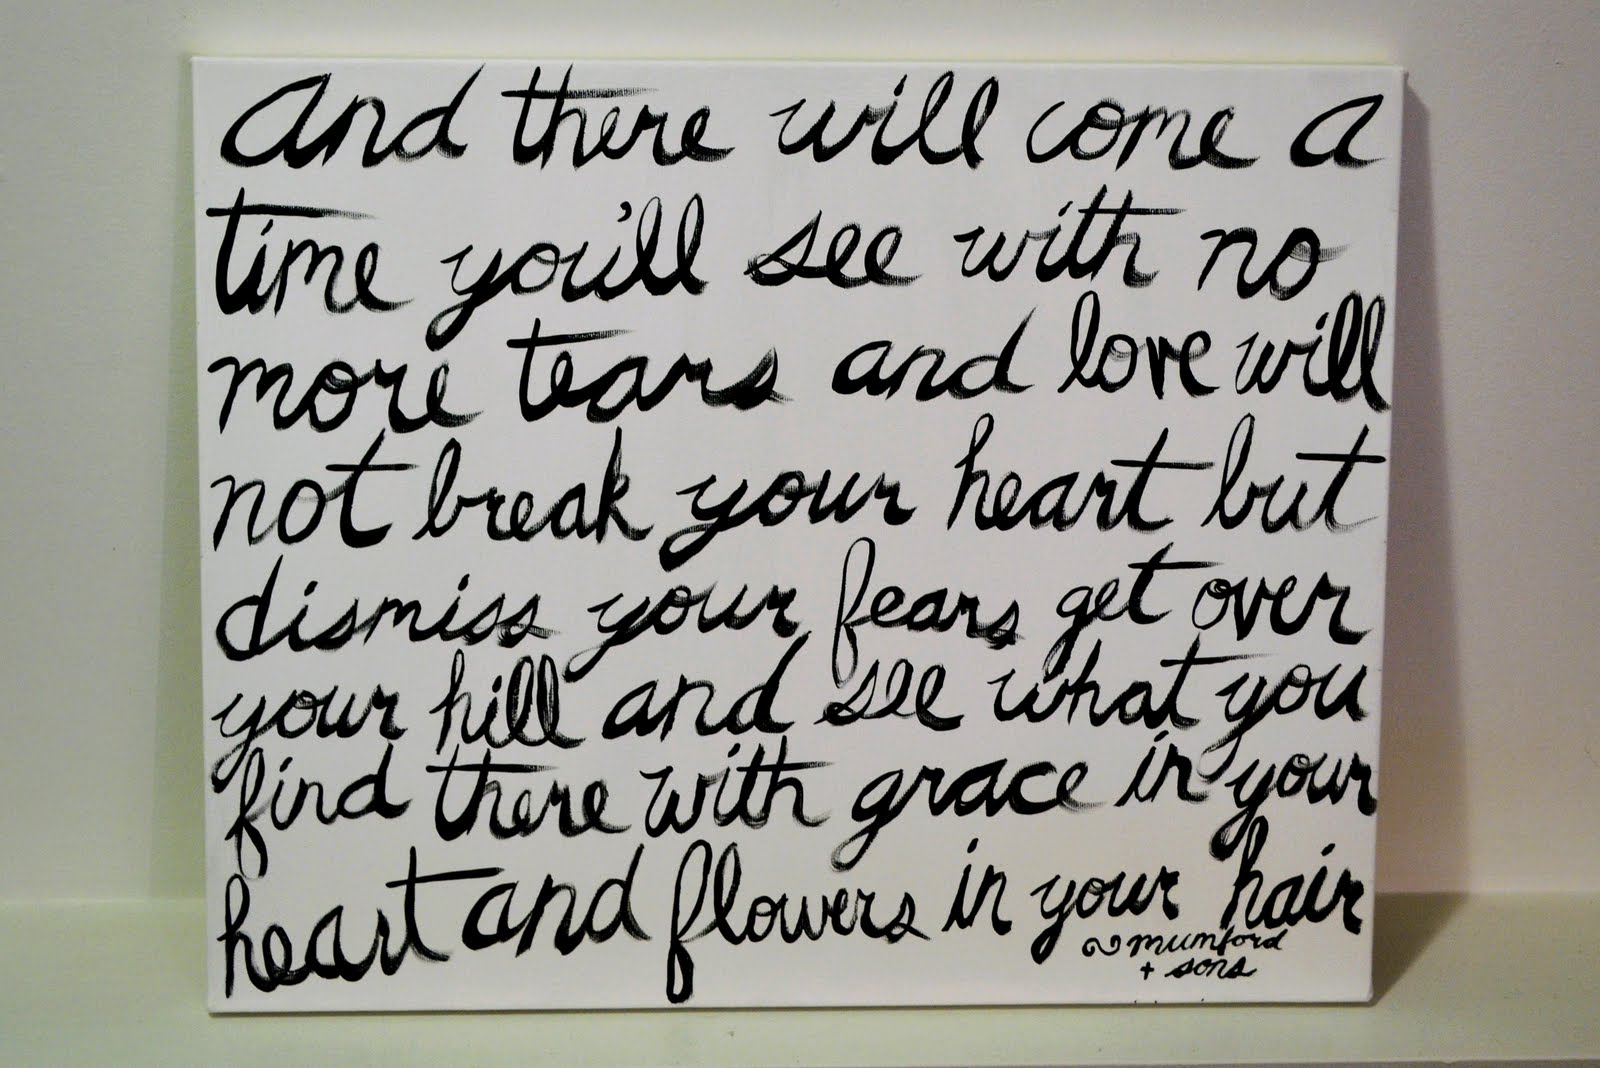
Now today's diy is definitely out of my comfort zone, since it involved painting!  I'm definitely more comfortable making my own jewellery, or gluing lace on jars....but I was inspired by Clara's diy art that she has hanging in her apartment, and decided to give it a go!


I've seen a few variations of lyrics on canvas around the web (check them out here, here and here).  While I initially wanted to do a really huge canvas, I'm glad I stuck with a slightly smaller version for my first attempt!

I instantly knew that I wanted to choose lyrics from a Mumford and Sons song, as their music really speaks to me!

Materials:
-canvas (I used a 16x20)
-white and black acrylic paint 
-paintbrushes 

optional: scrap paper

Directions:
1)  First I did a white base, and let the canvas dry overnight.
2)  Then I measured out and taped together scrap paper in the same size as my canvas.  I used this to draw out in pencil where I wanted the lyrics to go....basically figuring out the size my text should be, and line spacing, etc.  I also experimented with using a straight edge vs an angled paintbrush!  I ended up using the angled one.
3)  Now you're ready for the real deal!  Get to painting your lyrics!
4)  Your letters probably won't be perfect on the first try, so I let everything dry and went back to do some touch-ups!


The above photo is what the writing looked like at first....then I went back over the letters, and very carefully darkened all of the lines.

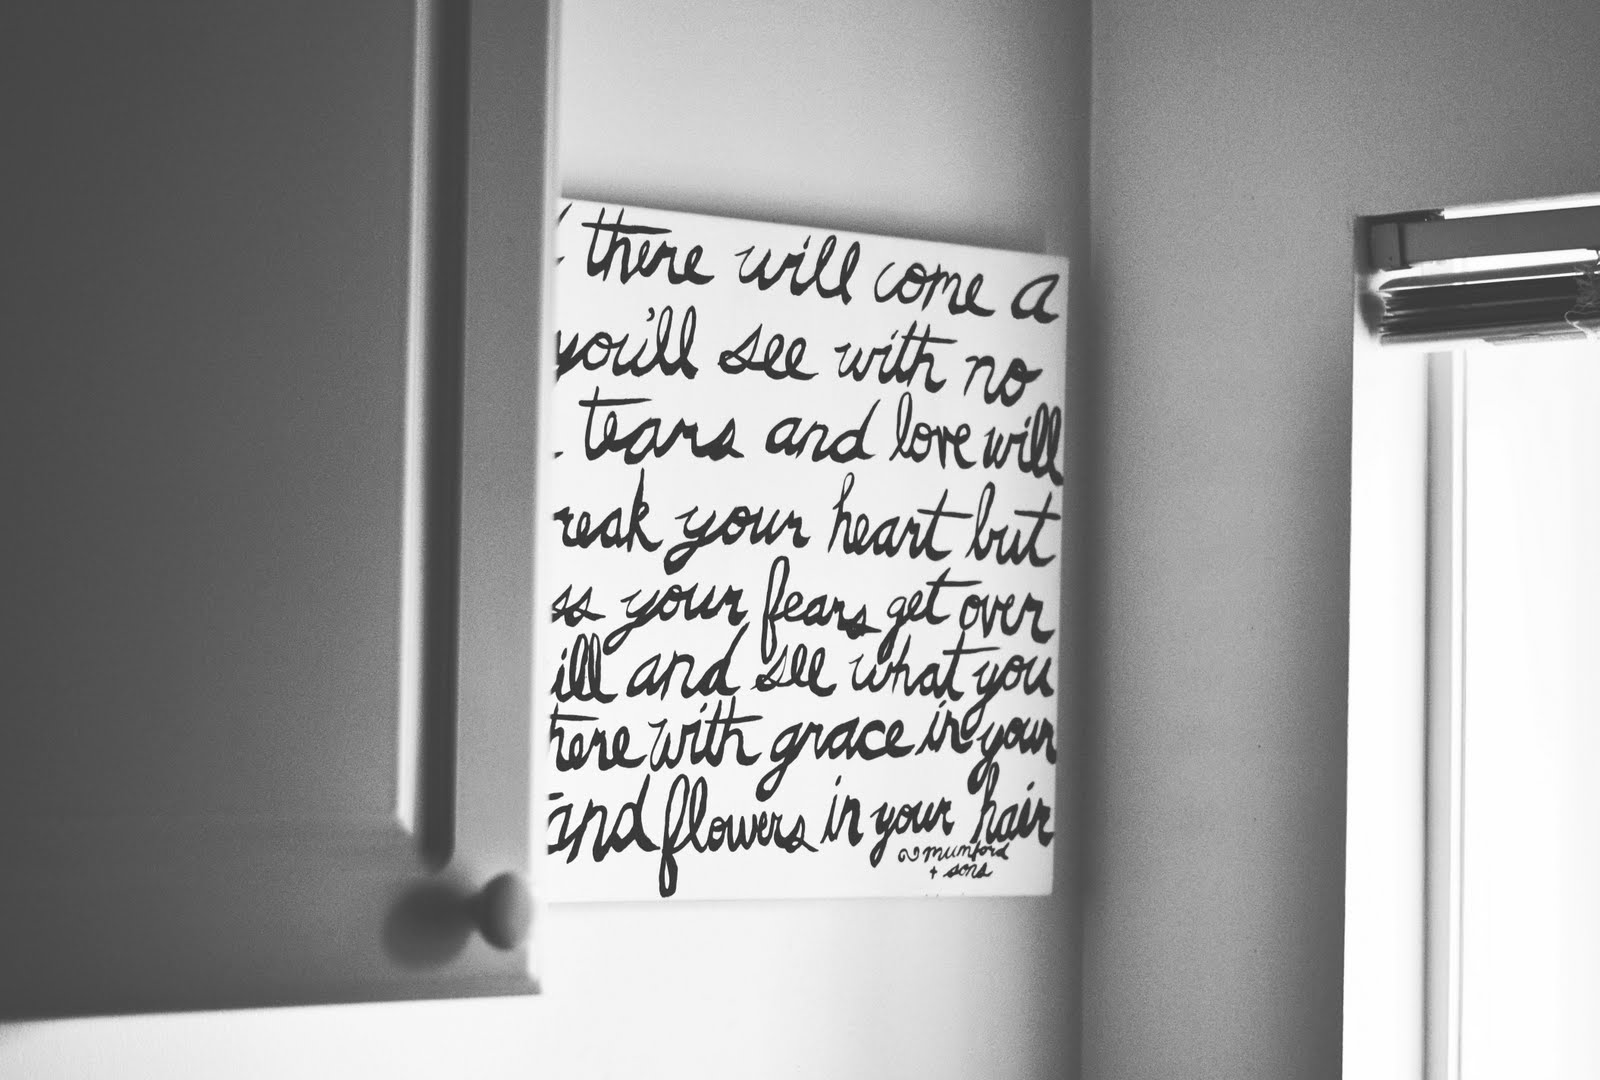
It's not perfect, but I love it!  Now I just wish that not all of the wall in my apartment were white.


p.s.   kelsey


Tuesday 29 January 2013

tasty tuesday: peanut butter swirl bars


Here at ps:  we love our chocolate and peanut butter combo.  As you can tell here, here, and here.

Is there anything better? 


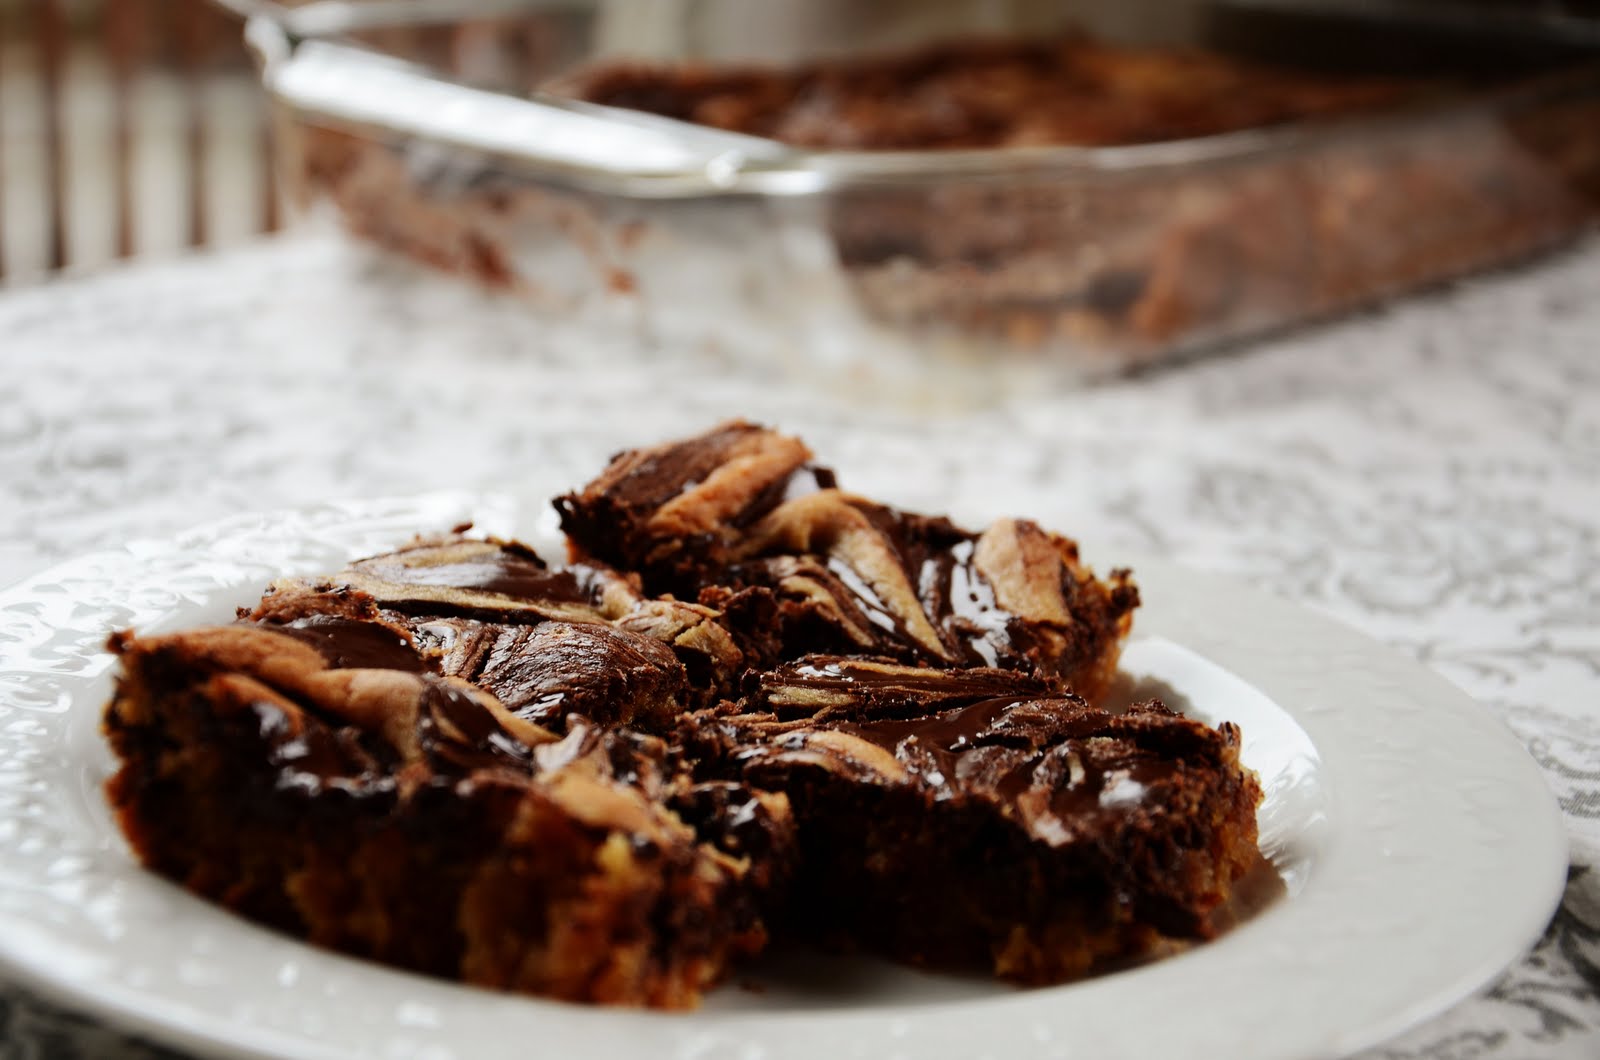
This recipe is an old family favourite.  I remember being in awe that my mother could make something so fancy!  How did she makes those delicious chocolatey swirls?  They are almost like a brownie, but they have peanut butter in them.  It tastes like angels are dancing on my tongue!
I figured that they must be very hard to make.
Guess what?
They're not.


Peanut Butter Swirl Bars

Ingredients:

1/3 cup butter
1/2 cup peanut butter
3/4 cup brown sugar
3/4 cup granulated sugar
2  eggs
2 tsp vanilla
1 cup flour
1/4 tsp salt
1 tsp baking powder

1 1/2 cups chocolate chips

Directions:

1.  Mix together the butter, peanut butter, and both sugars.
2.  Beat in the eggs and vanilla.
3.  Mix in the flour, salt, and baking powder.  The mixture should be about the consistency of brownie batter. 
4.  Spread the mixture into a greased 9x13 baking pan.
5.  Sprinkle the chocolate chips evenly over the mixture.
6.  Bake at 350 for 5 minutes, or so that the chocolate chips are fully melted.
7.  Take a butter knife and run your knife through the batter and gently "swirl" the chocolate chips and the batter together (see photo below).  Don't worry about this part!  Do your best to create nice swirls, but it will taste awesome no matter how they look.  So if it isn't perfect the first time, you know what they say, practice makes perfect!
8.  Put the now swirly bars back into the oven for about 25 minutes, or until a toothpick inserted into a non chocolatey area (haha this may be hard) comes out clean.  


Spread the batter out so it is even, but don't worry about it too much, as it cooks it will melt into all the cracks!


Be creative with your swirls!  You can even use a "folding" motion to bring up more yummy peanut butter batter from the bottom.


You will hardly be able to wait for these to cool before cut into them!


So next time you have a craving for chocolate and peanut butter, put down the Reeses, grab your apron, and make these happen!  Your loved ones will thank you for it.

p.s.   jordyn

Sunday 27 January 2013

weekly wrap-up : worship

So this week has been packed full with amazing things! I had the absolute privilege of having 2 weekends full of worship and wonder. First, I joined my church's young adults group at the beautiful Camp Nakamun for a weekend of games, snowy landscapes, worship, some hcore water polo, and just building new friendships and affirming old ones. The last couple days I've been at Breakforth Canada, enjoying amazing speakers like Francis Chan, and incredible musicians like Paul Baloche, Kari Jobe, and Casting Crowns. Needless to say, I am in desperate need for some slowing down, but I am seriously so full of joy, awe, and excitement right now! 
God is good.  


p.s. ♥ clara

Saturday 26 January 2013

outfit post: my happy pants


These are my happy pants.  You can probably tell why.

I wear them when I need to create my own sunshine and happiness (which happens a lot on the west coast).


I totally forgot about this trench coat this year, until I wanted to take a picture of this outfit.  I had one of those "Where in the world is my favourite trench coat??" moments.  And I found it hanging on my closet door, in plain view.


I am so glad I found it!  I wear it all the time now.


I feel like it has been a while since my last jumping photo... So here you go!

Do you have a "Happy" article of clothing?  Something that puts you in a good mood when you wear it?

p.s. ♥ jordyn

Friday 25 January 2013

diy : retro diy bottle cap magnets


This DIY is super simple, cute, and totally practical! Caleb and I started collecting the bottle caps off of our favourite soda brand - Boylan. Both of us hardly ever drink pop, but we love treating ourselves to these sodas because they're not as sweet and are actually made with sugar cane! So delicious and the caps are just lovely. I knew I had to do something with them, so here's what I came up with :)
What you need.... bottle caps / hot glue gun / magnets

Instructions : grab your glue gun, grab your magnets, and glue them into your bottlecaps.

That is all, dear friends. Seriously, that's it. 
I love how these bottle caps make our fridge look so unique and fun!
Amazing, right?


p.s. ♥ clara

Tuesday 22 January 2013

tasty tuesday : carrot curry soup


This was a soup that my wonderful mother-in-law made during the Christmas holidays and I absolutely fell in love! The creaminess of this soup along with the little kick of curry makes a superb combination and a great winter lunch. 
{  .  i  n  g  r  e  d  i  e  n  t  s  .  } 

4 cups of chopped carrots
1/2 cup chopped onions
3 cups water
1 tsp salt

1 tsp curry powder
1/2 tsp ginger 
2 tbsp brown sugar
1 1/2 cups of milk


{   .   i  n  s  t  r  u  c  t  i  o  n  s  .  } 
1. Boil the first four ingredients until the carrots are soft.
2. Put all the ingredients in the blender and blend until smooth (include the water!)
3. Add the next 4 ingredients to the blended mixture.
4. Place on stove at medium heat, stir and bring to a slow simmer.
5. Add some parsley flakes on top and enjoy!

p.s. ♥ clara


Related Posts Plugin for WordPress, Blogger...