Pages

Tuesday, 31 July 2012

tasty tuesday: raspberry slice


Although living on a berry farm results in our family being insanely busy during the Summer months, it definitely has its perks.....one of them being an endless supply of fresh berries!   For two girls who love to bake, this is a dream!  The recipe I'm sharing today is definitely one of our family's all time favorites, and it's also a no-bake dessert....which is another bonus when you want to whip up a sweet dessert on a sweltering summer day!

Some of you might be wondering what Raspberry Slice actually is.  Well, it's a lovely layered dessert consisting of: a bottom layer of graham cracker crumbs, a cream cheese/vanilla pudding mixture layer, berries in jell-o, and whipped cream tops it all off!


It's a super flexible dessert, and you can feel free to mix up the flavor of jell-o you use, as well as the type of berries you add in!  I chose to use a mixture of raspberry and blackberry fusion jell-o, and both raspberries and blackberries in mine.

First you get your graham cracker crumb mixture ready, and gently press into your desired serving dishes.  I used a couple of parfait glasses, a mini spring-form pan, and an 8x8 glass dish.


The above photo shows what approximately 2/3 of a cup of margarine looks like.  I usually just sort of eyeball it, and it really doesn't make too much difference if you have too much or too little.  Just keep an eye on the consistency of your crumbs, and adjust amounts as you go.


Make sure your cream cheese is at room temperature before you start (so you don't get any weird lumps), and beat it well before adding your milk and instant pudding.  Your mixture will go really thin, and get quite frothy when you add your milk....but once you add in the instant pudding mix it will thicken right up!


Once you've poured your jell-o into each dish, add in your berries!


The amount of berries you add is totally up to you!  The measurement in the recipe is really just a guide to give you an rough idea of how much you'll need.


Add your whipped cream (and leftover toppings) right before you're about to serve, and enjoy!


Raspberry Slice

Ingredients:

Crust:
2 and 1/4 cups Graham Wafer Crumbs (or oreo crumbs)
2/3 cup Margarine

Filling:
1 package (8 oz) Cream Cheese
1 Large package of Instant Vanilla Pudding
1 and 1/2 cups of Milk

Topping:
1 LARGE package of Wild Raspberry Jello (or 2 normal packages....and feel free to mix up the flavors!)
2 cups of Water (boiling)
1 TBSP of Lemon Juice
2 to 3 cups of Raspberries (*it works well to use frozen berries here as well.....and try different berries here too!)

Whipped Cream
250 mL (approx) of Whipping Cream
1 tsp Vanilla
1-2 tsp Icing Sugar


Instructions:

1. Melt your margarine until it's completely liquid-y; and in a medium bowl, add to crumbs and mix. Press crumb mixture into a 9x13 pan OR a 9" springform pan OR several smaller serving dishes (ex. cups, bowls, etc.). 
** Save some of your crumbs to sprinkle over the top of your dessert at the very end. Refrigerate.

2. Cream your cream cheese, then slowly add milk; beat until light and fluffly. Add instant pudding and mix until thickened. Spread over crumbs.  Pop in your fridge while you get the jell-o layer ready.

3. Dissolve your raspberry jello into the boiling water; add lemon juice. Let this mixture cool down in the fridge, until it's no longer hot....and may begin to partially set.  Pour over cream cheese mixture and add berries. Refrigerate.  
*(If using frozen berries, add to jell-o and fold until partially set; then spread over cream cheese layer).

4. Mix whipping cream, adding vanilla and icing sugar to taste. Add over top of jello layer once it has set, and you're ready to serve.

5. Sprinkle the top with remaining crumbs and serve!


Let us know if you try this out!
What's your favorite summer treat?

p.s. kelsey ♥

Sunday, 29 July 2012

weekly wrap-up: a wedding weekend and back to routine


What a crazy and wonderful week I've had!

Here's an official photo from the wedding!  The Nickersons were the photographers for the wedding, and were so much fun!  They are a husband and wife team, and were pros at making everyone feel so comfortable!  Check out a few more photos from their sneak peek HERE....and we'll be sure to post a link once all of the final photos are up!


The rest of this week has been extremely low key.  I was sick for a few days with a very strange migraine/dizzy situation....and then it was back to farm work.


I had a super nerdy moment while weed-whacking our cornfield.... I found part of a tail light for one of my dad's tractors, and since I had no pockets I just shoved it into my harness.  I may or may not have felt a little bit like Ironman...

(please don't judge me.)


I've also been using my instant camera and holga like crazy!  I must say that the expense of film really makes you think about each shot so much more than digital does.  I line everything up and make sure it's perfect before pressing the shutter...and when it pays off it's so worth it.


My mom picked up some salted caramel biscotti from Costco, and boy is it good.  I love the crunch of the biscotti, the slight chewiness of the caramel, the sweet taste of chocolate, and finally a hint of salt to top it off!

And so my obsession with salted caramel continues....in fact I'm eating some as I'm writing this!


I hope you've all had a lovely week!

p.s.  kelsey  ♥

Saturday, 28 July 2012

sister style: a lace affair

I (being Clara) became friends with Kelsey during my first year at University of British Columbia while living at Menno Simons Centre, a Christian community house a little ways off campus. When I first met  "the little sister" (aka Jordyn) on a visit to Kelsey's farm in Abbotsford, I was struck immediately by the differences in these two girls. 

Kelsey is the classic brown-eyed, honey golden haired beauty who is soft-spoken, gentle and just simply lovely... & Jordyn is her polar opposite. White blonde hair with bright baby blue eyes, this girl is full to brim with energy and spunk! 

These two have definitely earned their names as: the romantic baker & the quirky videographer. 

However, I quickly learned that despite their differences, these girls are thick as thieves and compliment each other so well, bringing out the best in each other. Truly, these two are a perfect sister match =)

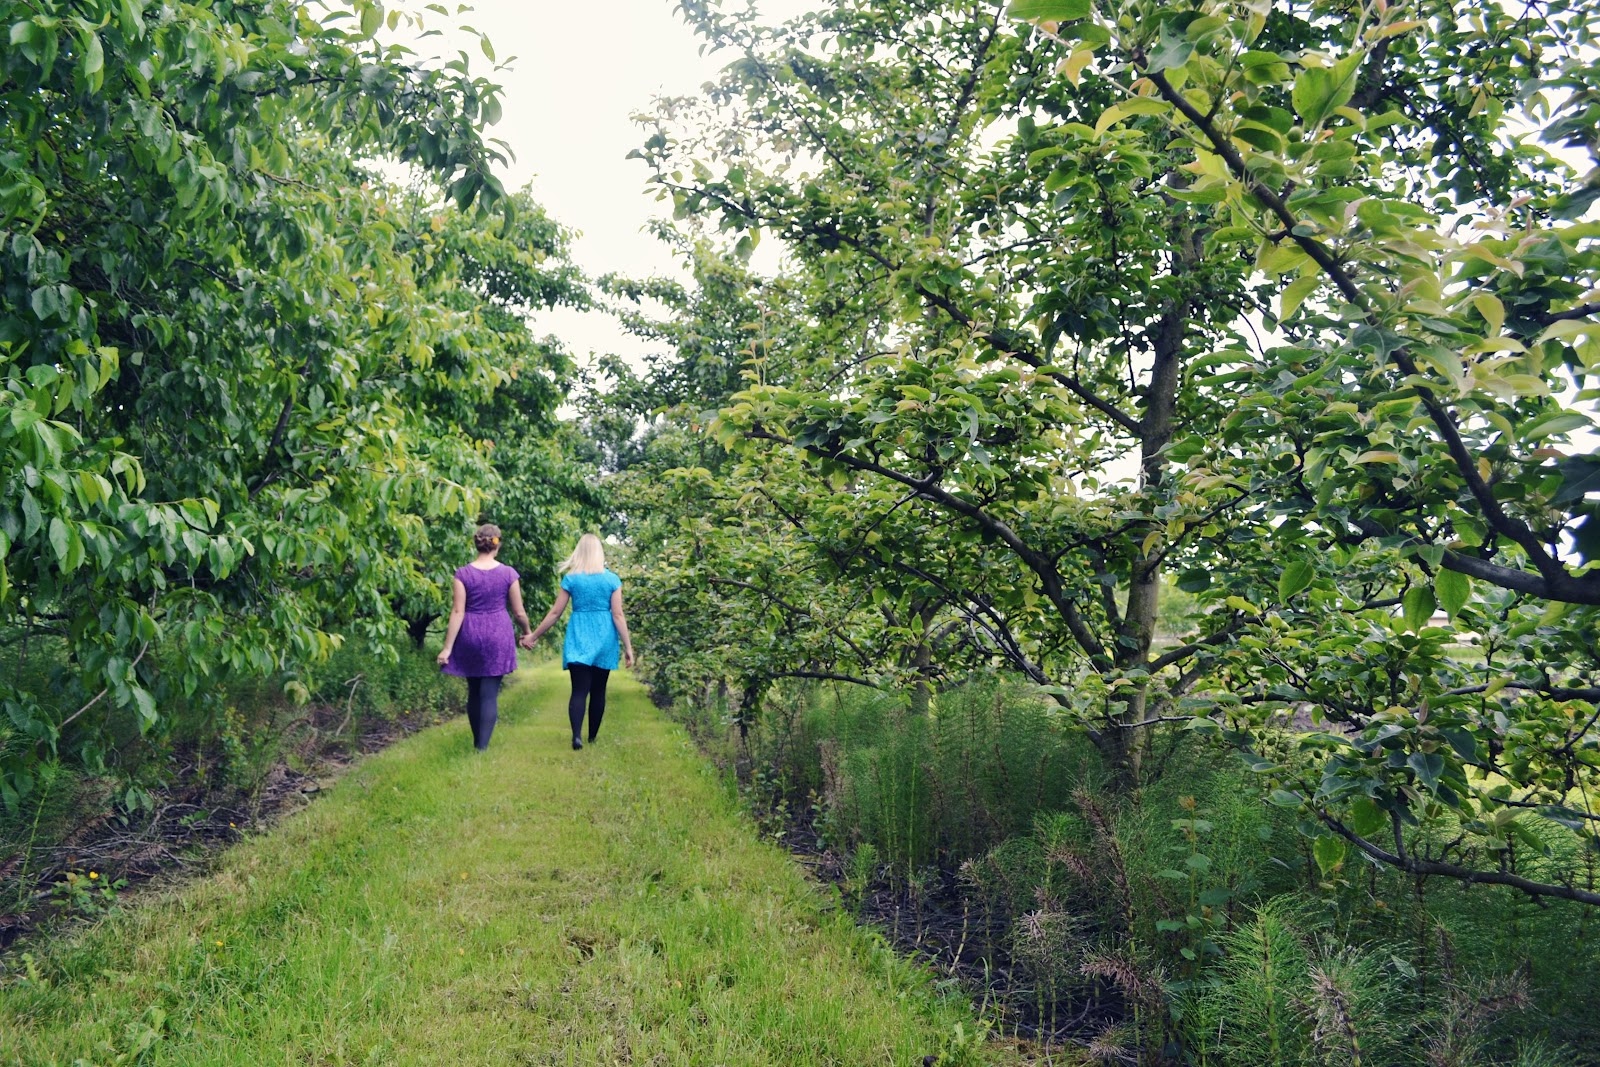
Aren't they the cutest in their matching lace dresses from Urban Outfitters? I seriously just love these two soooo much! They have such a beautiful friendship / "sister-ship" and they have so much fun together...makes me wish I had a sister of my own! Good thing I've been adopted as the "asian sister"!   - teehee- 

aaaand of course we had to throw in this one cause it shows the blogging world what Kelsey looks like with her classic scrunched up, "I'm so very displeased with you but don't know how to actually look angry" face & Jordyn in the background looking as exuberant as ever cause...well, she's just Jordyn! ;)


Doing what they're best at...Kelsey with her vintage camera & Jordyn with her vintage video camera.

p.s.  clara , kelsey & jordyn ♥


Thursday, 26 July 2012

diy : revamped vintage suitcase


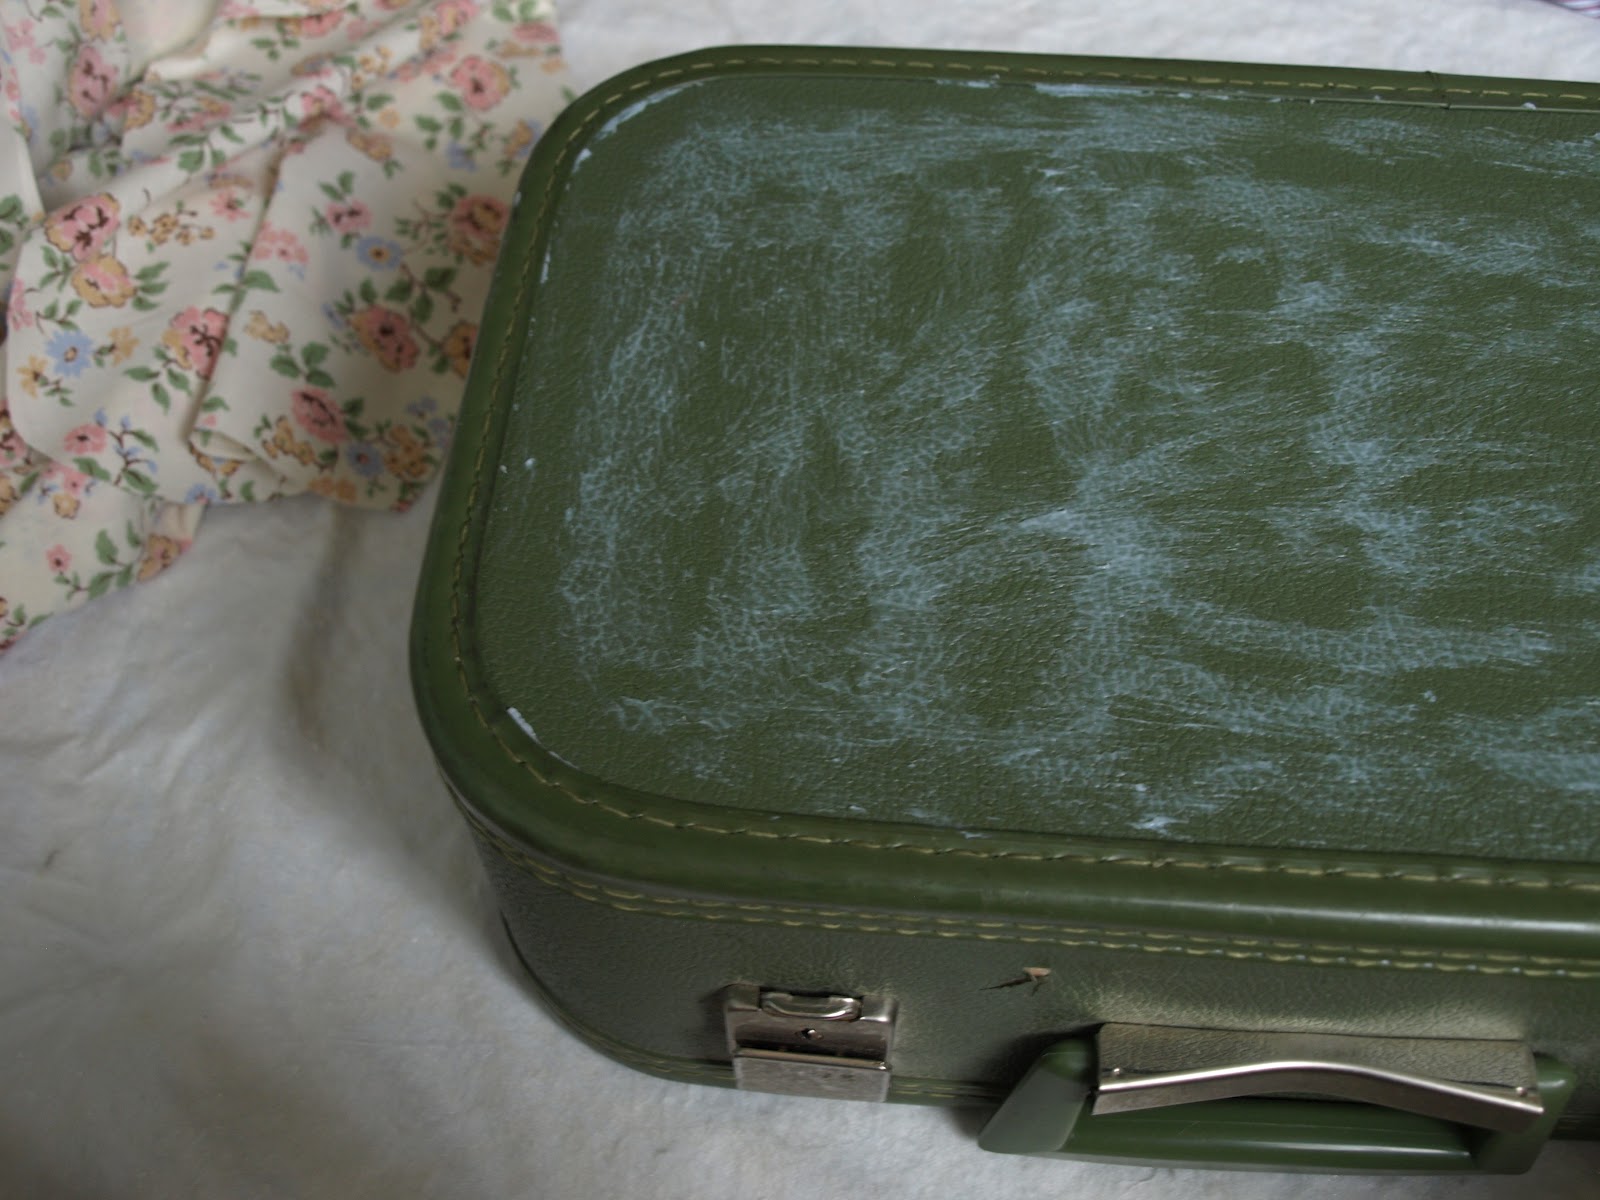
Today's diy is pretty dear to me and my husband because we inherited this darling little suitcase from Caleb's grandpa, who just recently passed away. The floral print was another thing that we picked up from grandpa's apartment, so we have a little bit of grandma's touch in there too. (She passed when Caleb was a little boy.) So I dearly hope you enjoy this diy, because it's a pretty special one that's being passed down the family line of the Hildebrands!


& Here's the inspiration for today's post... straight from one of my most favourite blogs =)


Supplies : vintage suitcase, linens, scissors, pencil, glue stick, mod podge & a palette knife.

 -  I N S T R U C T I O N S  -
1. Spread your print out on the suitcase and outline the edges of the suitcase.
2. Cut along the penciled outline, leaving a couple centimeters of room to tuck into the suitcase seam.
2.5 (shown below the instructions but not crucial to this project...) If you're totally happy with your choice in fabric, take a glue stick and go nuts on the face of your suitcase for additional "support"! I also ironed my fabric before tucking everything in and gluing it down.
3. Using your palette knife (or any other flat edge), tuck in the edges.
4. Lastly, using a small paintbrush, paint on mod podge along the seam to seal it.

Here it is before...
And after! I was so ecstatic that this project worked out so well!


Here's the inside of it... I'm not sure if I want to leave it or try and revamp it as well...I kind of like the mustard yellow...Any suggestions?

And here it is with a couple other things we picked up from grandpa's apartment, including a vintage book that has grandma's writing all over it, a crocheted table cover, and a collection of old vintage matchbooks from all over the Prairies!


I loved how this turned out and I think it'll quickly become a staple prop in my photoshoots :)
Hope you enjoyed this as much as I did!

p.s.  clara ♥

Tuesday, 24 July 2012

tasty tuesday: salted caramel cheesecake


I've been crushing on this combo of salt and caramel for a LONG TIME....and I just keep finding new and delicious ways of eating it!  So of course when I came across this recipe for salted caramel cheesecake on Joy the Baker's blog I just had to make it!  And it did not disappoint!


And it gave me a fantastic excuse to use my mini cheesecake pans....I even have ones shaped like hearts!   I also tried these babies out in little ramekins, which turned out to be such a cute way to serve this delightful dessert.

First you make a super simple crust...with just 2 ingredients!


Then just mix the rest of your ingredients together, and you're almost there!


Your cheesecake will probably slightly brown at the edges, and may even crack!  But don't even worry about it, because the caramel will cover everything up.

And, as you can see below, I like to stick a knife into the center of mine to ensure that it's cooked completely!  I'm really not a fan of gooey cheesecakes.


Then it's time for you to make some caramel!  Don't be scared, it's super easy...and the most difficult thing about it is the waiting.  But please do be super careful, as hot sugar on your skin does NOT feel good!


You'll let your sugar cook until it starts to turn amber, then you'll add in the butter and heavy cream!  Be sure that you use a LARGE saucepan, as this mixture will foam quite a bit when you add the butter and cream, and you don't want it to overflow.  Remove the pan from heat, and keep whisking until caramel has cooled slightly.  Allow to cool completely before pouring over cheesecake.  (Keep any extra you don't use on the cheesecakes in the fridge for other desserts, such as pouring over ice cream!


Then pour as little or as much as you'd like over each cheesecake, sprinkle with a bit of coarse salt, and serve!


Salted Caramel Cheesecake
adapted from: Joy the Baker
makes: 4 mini cheesecakes, OR one 9-inch cake

Ingredients:

Crust:
1 1/4 Graham Cracker Crumbs
1/3 cup Butter OR margarine (melted)

For the Cheesecake:
2 blocks of Cream Cheese (at room temperature)
1 1/3 cups Sugar
1/2 tsp Salt
2 tsp Vanilla
2 large Eggs (at room temperature)
1/2 cup plus 2 TBSP Heavy Cream

For the Caramel:
1/2 cup sugar
Water (just a bit with the sugar so that your sugar is all wet)
3 TBSP Butter (cubed)
1/4 cup plus 1 tablespoons Whipping cream (at room temperature)

Coarse Salt (for sprinkling on top)


Directions:
For the Crust:
1)  In a medium bowl, mix together graham cracker crumbs and melted butter with a fork.
2)  Press gently into your pan(s).

For the Cheesecake:
1)  In a large bowl, beat cream cheese well, ensuring that there are no lumps present.
2)  Mix in sugar, vanilla and salt, and mix well.
3)  Beat in eggs one at a time.
4)  Slowly beat in cream, and continue mixing until mixture is nice and creamy.
5)  Pour into your pan(s).
6)  Bake at 350 degrees for: 50-60 minutes for a 9-inch pan, OR 35-40 minutes for mini cheesecakes (or until the center of each cake has set...aka: is no longer wiggly!).

*To bake all four of the mini cheesecakes and ramekins, I placed them all onto a baking sheet, making them easier to handle, and ensuring that there would be no danger of them tipping between the oven rack wires.

For the Caramel:
1) Place sugar in a large saucepan, and add just enough water so that the all of the sugar is wet.  Cook at a medium heat until the sugar turns a yellowish-brown colour.
2) Add the butter and stir it in until melted.
3) Pour in the heavy cream (mixture will foam) and whisk until you get a smooth sauce. You may have some lumps but keep stirring until they have melted. Remove from heat and let cool completely (it will thicken as it cools!)

To assemble:
Once your cheesecakes have baked, and are completely cooled (this may take several hours, and I recommend popping them in the fridge!), drizzle/pour/dump caramel over each cake!  **Leave this part until right before you serve the cakes....because otherwise they may get a little soggy.   And finally, sprinkle a teensy bit of coarse salt over each one, and serve!


I hope you enjoyed this sweet and salty adventure!
And be sure to keep an eye out for more salt + caramel combos coming up soon...Jordyn and I have been brainstorming like crazy for new dessert ideas containing these delicious flavours!

p.s.  kelsey ♥