Showing posts with label bars. Show all posts

Tuesday, 23 July 2013

tasty tuesday: the very best peanut butter granola bars


As a kid I loved granola bars, really what kid doesn't?  Sometimes my mom would even buy us the granola bars that had peanut butter or caramel on them, wrapped up in chocolatey goodness!  Those days were the best!  

We also had the crunchy peanut butter kind, not quite as fun as the glorified chocolate bar type, but still pretty good.

These granola bars are a homemade take on the crunchy peanut butter granola bars, and I kid you not, I would choose these over ANY chocolate covered bar in a heart beat.  They are that good.


I have messed around with granola bars before, but I have never had any turn out as perfect as these did.  The very first time I made them, I couldn't believe how crunchy they were!  Previously, they always turned out a bit chewy, not quite the crispy consistency I was looking for!  

Peanut Butter Granola Bars
recipe: adapted from Half Baked Harvest (Tieghan) 

Ingredients:

2 1/2 cups rolled oats 
1 1/2 cup rice crispies cereal
1/4 cup chopped peanuts
1/2 teaspoon salt
1/2 teaspoon baking soda
1/3 cup honey
1/2 cup peanut butter (I like to use natural)
3 tablespoons coconut oil
1 teaspoon vanilla extract

Drizzle
2 tablespoons peanut butter (here I use Kraft)
1 teaspoon coconut oil
1 teaspoon honey

Directions:

1) Preheat your oven to 350.  Line a 9x13 pan with parchment, this makes it so easy to pick up out of the pan to cut! and no granola bars sticking to the pan!
2) Mix together all of the dry ingredients, oats, rice crispies, chopped peanuts, salt and baking soda in a large bowl.
3) Mix together all of the wet ingredients, honey, peanut butter, coconut oil and vanilla, in a one cup glass measuring cup (or glass/microwave safe bowl).  Melt these ingredients together (about 30 seconds in the microwave).
4) Pour the wet ingredients into the dry, and stir thoroughly.
5) Transfer granola mixture into the parchment lined pan.
6) Press down very firmly, using a fork, or the greased bottom of a measuring cup.
7) Bake for 20-25 minutes (depending on how crunchy you would like them to be!)
8) Let them cool in the pan for a bit, then lift the parchment right out onto a cutting board, and cut them in granola bar shapes. (or whatever shapes you would like them to be in!)


I can't get over how much I dig these bars!  I love to pack them in my lunch, (they provide a much needed burst of energy while working on the farm) they make the perfect coffee break snack, and I may have even been known to munch on them for breakfast!

There are so many possibilities with these granola bars, and I have already modified the recipe to make yummy s'mores bars! 


Also anybody who loves food blogs should check out Half Baked Harvest.  Even if you aren't really into baking, her photos alone are to die for.  This girl has some serious talent!  I want to try everything she makes, it all sounds so delicious, and usually looks even better.

p.s.   jordyn


Tuesday, 18 June 2013

tasty tuesday : zucchini pecan bars

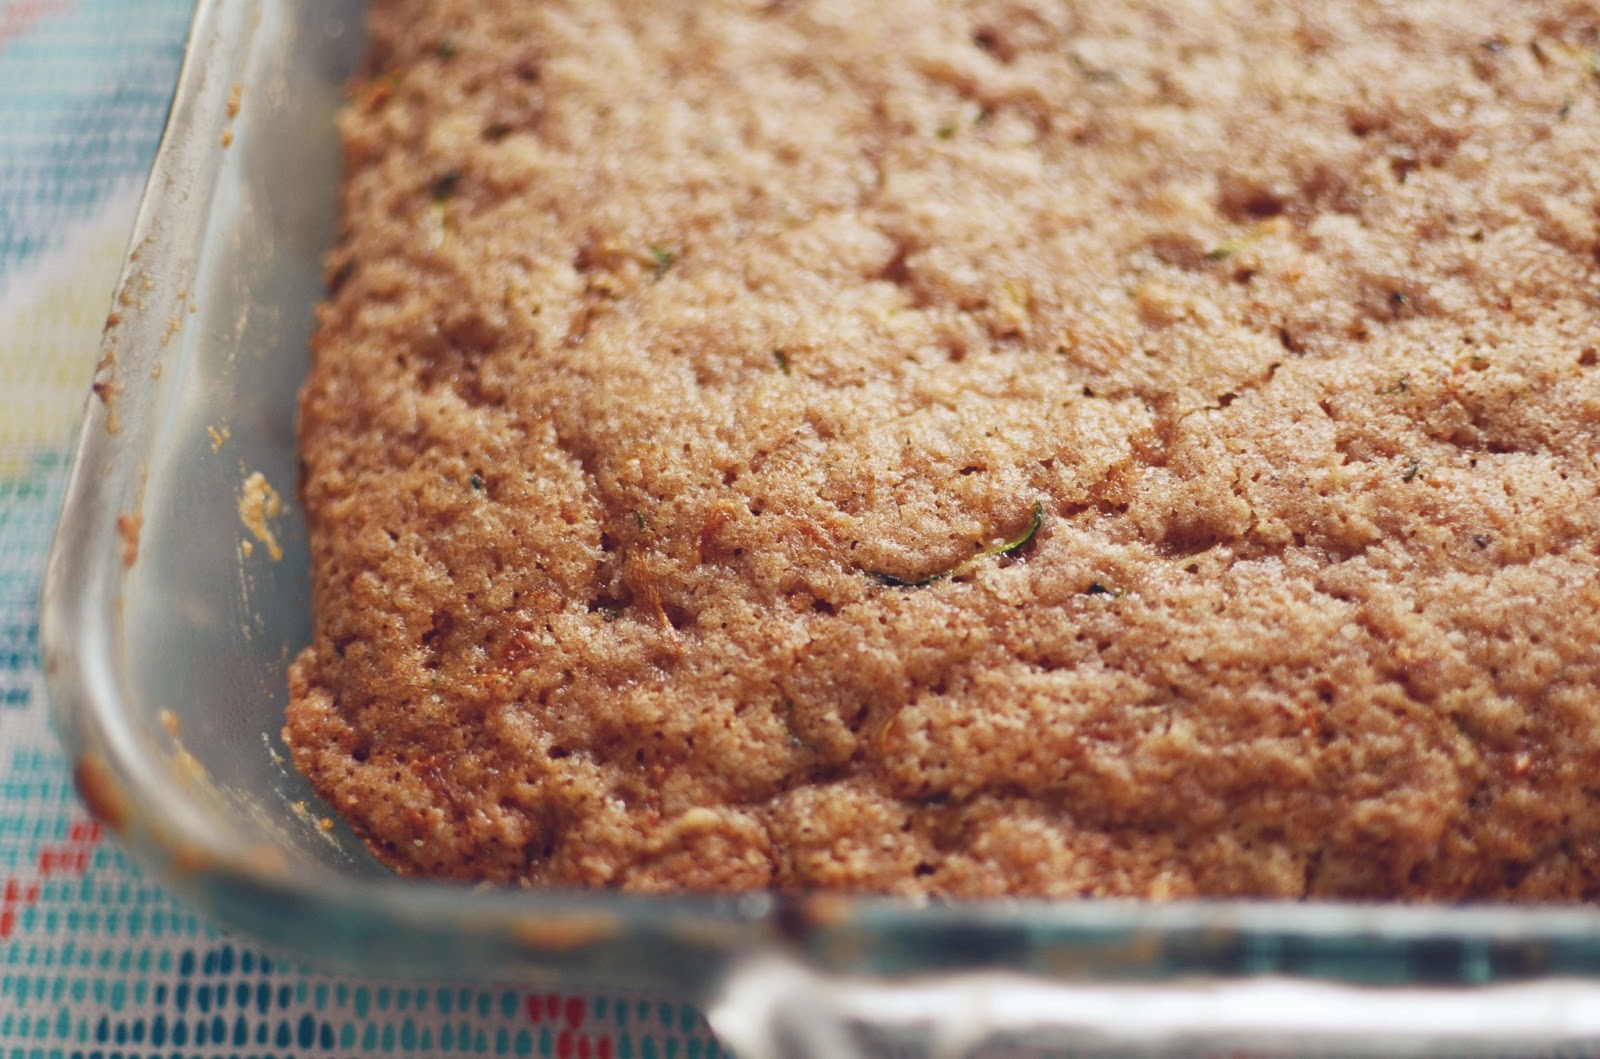
I really love when I can eat baked goods and feel "healthy," so this zucchini pecan recipe is a perfect fix for me! And I know - adding cream cheese icing on top really doesn't help my case at all, but it adds sooo much and I could never say no to a cream cheese icing! So here it is, my misleadingly "healthy" zucchini pecan bar recipe with a delicious cream cheese icing :)
.  i n g r e d i e n t s  . 

3 eggs                                              1 tsp salt
1 cup veggie oil                                 2 tsp cinnamon
1 1/2 cups white sugar                       1 tsp nutmeg
2 tsp vanilla                                       2 cups grated zucchini
2 1/3 cup flour
1/4 tsp baking powder
2 tsp baking soda


.  d i r e c t i o n s  . 

1. preheat oven to 350 degrees and grease a 9x13" pan.
2, mix together first four ingredients in a large bowl. combine the rest of the ingredients in separate bowl - then combine them together and then add in the zucchini.
3. spread the batter evenly into the prepared pan.
4. bake for 20-25 mins, or until a toothpick comes out clean!
5. let cool before adding your cream cheese frosting
6. add some pecans on top and enjoy!


.  c r e a m   c h e e s e   i c i n g  . 

1 (8 ounce) package of softened cream cheese
1/2 cup of butter
1 tsp vanilla
3 cups icing sugar

Cream together the ingredients and frost away! I tend to use only half the recipe for a 9x13" bar recipe and I'll freeze the rest for the future.
p.s.   clara

Tuesday, 16 April 2013

tasty tuesday: peanut butter pretzel bars


Remember the delicious Peanut Butter Bars I made in September?  Well they are back!  This time with a crunchy twist!


Peanut Butter Pretzel Bars
from:
Bakerlady

Ingredients:

Base:
1/4 cup melted butter
1 cup peanut butter
1/2 cup icing sugar
1 cup crushed pretzels (quite small, pea size crumbs)
1/2 cup graham cracker crumbs

Chocolate layer:
3/4 chocolate chips
2 Tbsp peanut butter

Directions:
1. Mix the butter, peanut butter and icing sugar in a medium bowl.  
2. Stir in the crushed pretzels and graham cracker crumbs.  
3. Press into a greased 8x8.  ( I lined mine with tin foil, so I could just lift it out and cut the bars!)
4. Chill for about half an hour.
5. Melt the chocolate chips and peanut butter together to make the topping.
6. When melted, spread evenly over the bottom layer.  Using an offset spatula works wonders, and if your chocolate is still a bit melty when you have finished spreading it, give your pan a bit of a shake, or gently bang it on a counter.  This will smooth out the chocolate even more.
7. Refrigerate for about an hour before serving.
8. Lift the bars out of the pan (with the tin foil).
9. Cut into squares!


I didn't think these bars could get any better, but I was so wrong!  
The pretzels take these bars to a whole new level.  Like with my Salted Caramel Pretzel Cookies, adding pretzels to baking may seem a little weird at first.  But I promise you, one bite of these bad boys, and you will be sold!


So do you have a girls night coming up?  A book club meeting?  A family dinner?  A haircut?
Use any excuse you want, please just make these!!

p.s.   jordyn

Saturday, 16 March 2013

mint nanaimo bars


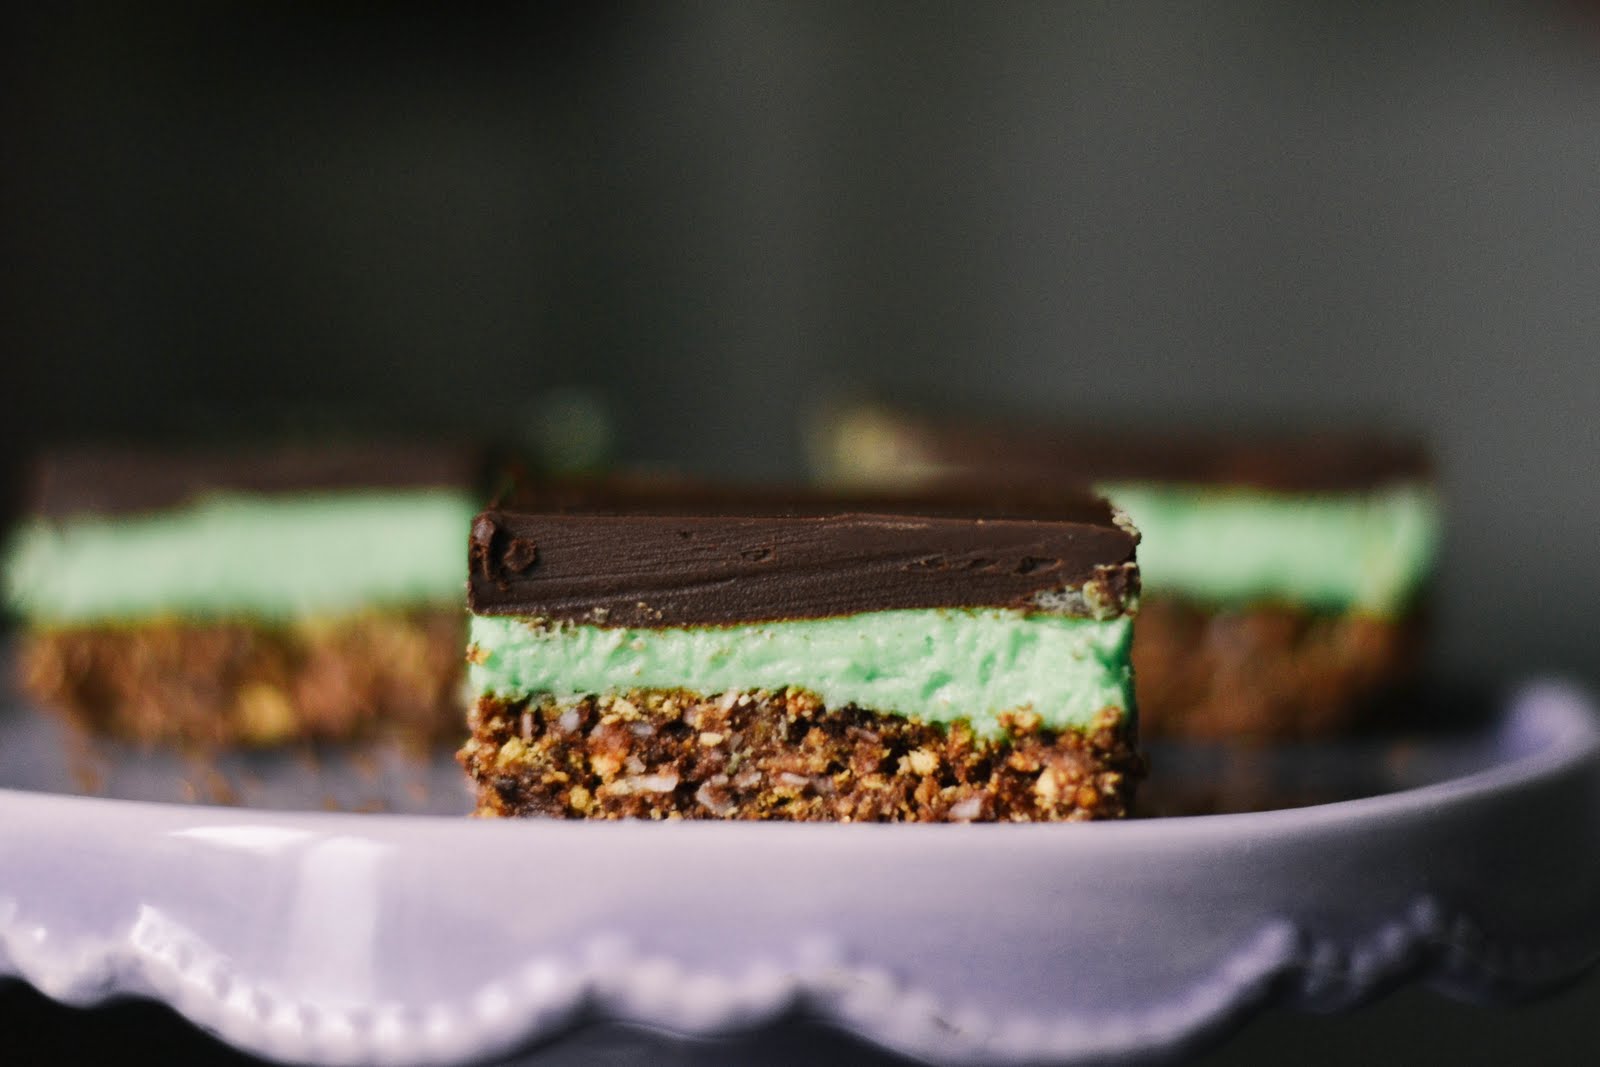
It's your lucky day!  We decided we should make something festive for St. Patrick's Day...so here we present you with: mint nanaimo bars!  We thought adding a minty green twist to one of our favorite recipes would be the perfect St. Patty's Day treat.  And boy is it good!  Mint + chocolate is the bomb.


Now I've included the modified recipe for these minty bars, but check out the original post here for more basic tips and photos!

Nanaimo Bars

Bottom Layer:

1/2 cup butter [very soft]
2 tablespoons cocoa
1 teaspoon vanilla
1 cup unsweetened shredded coconut
5 tablespoons white sugar
1 tablespoon ground flax seed mixed with
3 tablespoon of water
2 cups graham wafer crumbs

Middle Layer:

4 tablespoons softened butter
3 tablespoons milk (or cream)
2 tablespoons vanilla custard powder
2 cups icing sugar
1/4 tsp mint extract (add more to taste if you really like your mint!)
green food colouring (I used gel, and it worked like a charm!)

Top Layer:

1 cup chocolate chips [or 6 baking squares]
1 tablespoon shortening

Instructions:

Step 1
1.  Place melted butter, cocoa, vanilla, sugar, and flax seed mixture in a bowl.  Stir mixture until creamy.
2.  Mix wafer crumbs and coconut into the cocoa mixture.  
3. Pack into an 8x8 pan.  I usually line the pan with parchment paper, and when I am ready to cut the bars, I just lift it out, and place it on a cutting board.
4.  Refrigerate until the bottom is solid (about 30 mins).

Step 2
5.  In a seperate bowl, mix butter, milk, custard powder, icing sugar, and mint extract together.  Add a bit of green food colouring until desired colour is achieved.  
6.  Spread over bottom layer.

Step 3
7.  Melt chocolate chips and shortening together either in a saucepan or in the microwave; be careful not to burn! The shortening will ensure that the chocolate layer isn't too solid, so it wont crack when cutting.
8.  Spread chocolate evenly over middle layer.
9.  Refrigerate for approximately 5 mins.  

Step 4
10.  Once the chocolate has begun to harden, I like to score it with my knife.  This makes it easier to cut after it has totally hardened. 
11.  Place nanaimo bars back in the fridge for at least 30 mins.
12.  Once they have completely hardened, lift the parchment out of the pan onto a cutting board, and using a large knife, cut the nanaimo bars all the way.
13.  Enjoy!


I love the pop of colour on these babies...and they're sure to be a hit at any party!


These would make a wonderful dessert no matter the occasion, and are a nice change from our original version!
Enjoy!  And Happy St. Patrick's Day!


p.s. ♥ kelsey
Related Posts Plugin for WordPress, Blogger...