Showing posts with label chocolate. Show all posts

Monday, 21 July 2014

Wednesday, 11 June 2014

funky monkey bars


I moved to a new blog!  Head over to The Farmer's Daughter for the full post and recipe!

p.s.   kelsey & jordyn

Monday, 28 April 2014

s'mores cupcakes


Three things that you must know:

1)  I have never actually been camping before.
(Shame on me right?  That's what you get when you live on a berry farm in Summer)

2)  I have made s'mores in Winter by placing a marshmallow on a toothpick, and holding it over a candle.

3)  I definitely borrowed my Dad's blowtorch for these cupcakes since I don't have a proper kitchen one yet....and it just sounded way more exciting.


It's always fun when I get to experiment with something new in the kitchen....and using a blowtorch for these cupcakes was a hoot!  Haha.  Let's say there was quite a bit of squealing and giggling coming from the kitchen as Jordyn and I tested our torching skills!

These cupcakes were inspired by call me cupcake's version, although I used my own chocolate cake recipe!  You should definitely go check her website out!  Some of it is in Swedish, but she always has her recipes in English as well.  It's just so darling!

I'm in love with all of the textures these cupcakes have going on.  The crunchy/crumbly graham cracker crust (that will inevitably end up all over your lap), the fluffy chocolate cake, and finally the little dollop of toasted heaven on top!  So good.

S'mores Cupcakes
inspired by: Linda Lomelino

Ingredients:
1/2 cup graham cracker crumbs
2 tbsp butter (melted)

1/2 cups Flour
1 cups Sugar
1 tsp Baking Soda
1/2 tsp Salt
1/3 cup Cocoa
1/2 TBSP Vanilla
1 TBSP Vinegar
1/3 cup Margarine (melted)
1 cups Warm Water

3 large egg whites

2/3 cup sugar
1 tsp vanilla

*thermometer (for measuring marshmallow frosting temperature)

Instructions:

1) Mix together graham cracker crumbs and melted butter.  (If crumbs seem too gooey or too dry, you can just add either a bit more crumbs or butter).
2)  Prepare a cupcake tin with paper liners.  Firmly press a couple teaspoons of crumb mixture into the bottom of 12 liners.
3)  Bake at 350 for 10 minutes.  Set aside.
4)  In a large bowl, mix together all dry ingredients together.
5)  Pour wet ingredients over dry, and mix until combined.
6)  Pour cake batter into the 12 liners.
7)  Bake cupcakes for 20-25 minutes, or until a toothpick comes out clean.  Allow to cool completely.
8)  Mix together egg whites and sugar in a bowl set over a saucepan with gently boiling water.  Whisk constantly to ensure your eggs don't curdle.  Whisk like crazy!  Keep cooking until the mixture reaches 65 degrees celsius. 
9)  Remove from heat and whip on your highest speed until stiff peaks form.  Add in vanilla.
10)  Frost your cupcakes however you like!  I used my largest star tip and a frosting bag, but a large ziplock with the end simply cut out would also work great.
11)  If you have a kitchen torch, then go to town toasting your marshmallow frosting.  
If not, you can place your cupcakes on a cookie sheet and broil them in the oven.  These do not take long at all, so please do not take your eyes off of them!
Or, you can always borrow a blowtorch and toast them that way...

Wednesday, 19 February 2014

chocolate pecan caramel thumbprint cookies


Mmmhhh....caramel!  You can't say that you're surprised that it's shown up again so soon. Ha!

We made these cookies for Christmas (yeah yeah...I'm working on the whole procrastinating thing), and they were a huge hit.  Definitely a bit more work than your average cookie...but well worth it when you want something extra special.


These cookies have so many wonderful textures going on...from the crunch of the nuts, chewiness of the chocolate cookie, and finally the smooth creaminess of the caramel!

Chocolate Pecan Caramel Thumbprint Cookies
adapted from: taste of home
Yields: ~2.5 dozen

Ingredients: 
1/2 cup butter, softened
2/3 cup sugar
1 egg, separated
2 tablespoons milk
1 teaspoon vanilla extract
1 cup all-purpose flour
1/3 cup cocoa powder
1/4 teaspoon salt
1 cup finely chopped pecans (walnuts would be a great alternative!)

FILLING:
12 to 14 caramels
3 tablespoons heavy whipping cream

Tuesday, 7 January 2014

tasty tuesday: hunky bills


Now Hunky Bills are actually something we make at Christmas time, but since I'm an excellent procrastinator (and life was nuts around Christmas), I'm just blogging about them now!  Really they would be a delicious treat all year round, we just happen to only make them once a year.  Which is probably good for my waistline!

Funny story:  their real name is definitely not Hunky Bills....but rather: Uncle Bill's Cuban Lunch.  Somehow, someway, over many many Christmases.....they slowly morphed into Hunky Bills.  
My family all knows it's not right, but we can't help that we call them that!  It's pretty hilarious.


Moving on.  These babies are another easy peasy recipe, where all you do is melt chocolate and stir deliciousness into it!  (Deliciousness being chips and peanuts....yum.)  
Man, I'm such a sucker for anything  sweet and salty!  Just so darn good.

Hunky Bills
from: my Auntie Bobbi

Ingredients:
3 cups chocolate chips
3 cups reese's peanut butter chips
200 grams plain Ripple Chips, crushed (these usually come in a 200 gram bag, so measuring is easy!)
2 1/2 cups salted peanuts, chopped

Directions:
1)  In a very large saucepan, first melt the peanut butter chips.  Add chocolate chips once the peanut butter chips are melted.  Stir together.
2)  Allow mixture to cool slightly, and then add crushed chips and chopped peanuts (you want the chunks of chips and peanuts pretty small).
3)  Line a mini cupcake pan with mini cupcake papers, and spoon the mixture into the papers.  Let them cool until firm enough to remove from pan.  
*We always pop ours in the freezer for a few minutes until hardened, remove the hunky bills, and then do another pan until all of the mixture is gone.


Soooo....once you've finally caved on your healthy New Year's Resolutions, you know where to find this recipe.  Ha!  They're totally worth it.  Promise.

p.s. ♥ kelsey

Sunday, 22 December 2013

Christmas baking: cranberry almond bark


We really really love bark in our house (as you may remember: peppermint bark, coconut bark, toffee pretzel bark.).  Maybe because sometimes we're a little bit lazy, and maybe because it just tastes so darn good!

The toasted almonds and dried cranberries are such perfect flavors for winter, and we always make some for Christmas!  But honestly, there is no right or wrong time to make this bark.

p.s. Christmas is in 3 days....say what?


I'd just like to recommend you bringing this bark to the next party, family gathering, dinner, or potluck you go to.  So simple, but it looks so fancy.  Impress your friends, co-workers, boss, or in-laws.  They'll love you for sure!
(I'm so not ashamed to bribe people with food....a girl's gotta do what a girl's gotta do, right?)

Cranberry Almond Bark
Ingredients:
1/3 cup slivered almonds (blanched)
1/2 pound milk chocolate, chopped
1/2 cup dried cranberries
1 oz white chocolate

Directions:
1)  Spread your almonds out on a baking sheet, and bake at 350 degrees for about 8 minutes, or until toasted, and set aside.
2)  Melt milk chocolate in a double boiler.
3)  Remove chocolate from heat, an stir in almonds and dried cranberries.
4)  Pour onto a baking sheet lined with wax paper or parchment paper.  Spread evenly to about 1/4" thickness.
5)  Melt white chocolate in double boiler.
6)  Drizzle white chocolate over milk chocolate before the milk chocolate has set, and use a fork to swirl designs in the white chocolate.
7)  Refrigerate until firm.  Break up into pieces and store in an airtight container in the fridge or freezer until ready to serve.


p.s. ♥ kelsey

Saturday, 21 December 2013

Christmas baking: triple chocolate shortbread cookies


Soooo much chocolate.  We've come to the realization that nearly all of our Christmas treat have chocolate in them....and we're totally okay with that!  These triple chocolate shortbread cookies have been my all-time favorite for many Christmases now, and are still going strong.  The shortbread is chocolate, there are mini chocolate chips inside, and then they're dipped and drizzled in chocolate to make them pretty.  So...if you're not a fan of chocolate, these aren't for you!

But let's be real here.  Who isn't a fan of chocolate?


What I love most about these cookies is how the melt-in-your-mouth shortbread goes so well with the chocolate shell covering it.  It's oh so good!

Triple Chocolate Shortbread

Ingredients:
1 cup butter (softened)
1/2 cup icing sugar
1 1/2 tsp. vanilla
1 oz square of unsweetened semi-sweet chocolate [melted]  
2 1/4 cup flour
1 cup mini chocolate chips

Instructions:
1.  Mix together softened butter, icing sugar, vanilla and melted chocolate until smooth.
2. Add flour and chocolate chips and mix.
3. Roll dough into 1" balls (or whatever size preferred) and place onto a baking sheet.
4. Bake for 10 minutes at 375 degrees.

Decorating:
You can choose to dip these in any kind of chocolate you want; we usually dip ours twice (once in white and once in semi-sweet chocolate).  
Also, if you spoon a small amount of melted chocolate into a ziplock bag, you can drizzle a zig-zag pattern onto the top!  The drizzle looks the best when you cut the smallest hole you can in the ziplock.  Good luck!


Are you sick of Christmas baking yet?  I hope not.  We still have a few more Christmas-y recipes to share, so stay tuned!

p.s. ♥ kelsey

Tuesday, 17 December 2013

Christmas baking: turtle bars


So here I am, more than halfway through December, about to start blogging about Christmas desserts.  Better a late than never, eh?

These turtle bars look beautiful on a plate of Christmas baking, and are a sure way to impress your friends, family, or maybe if even your boss! Ha!

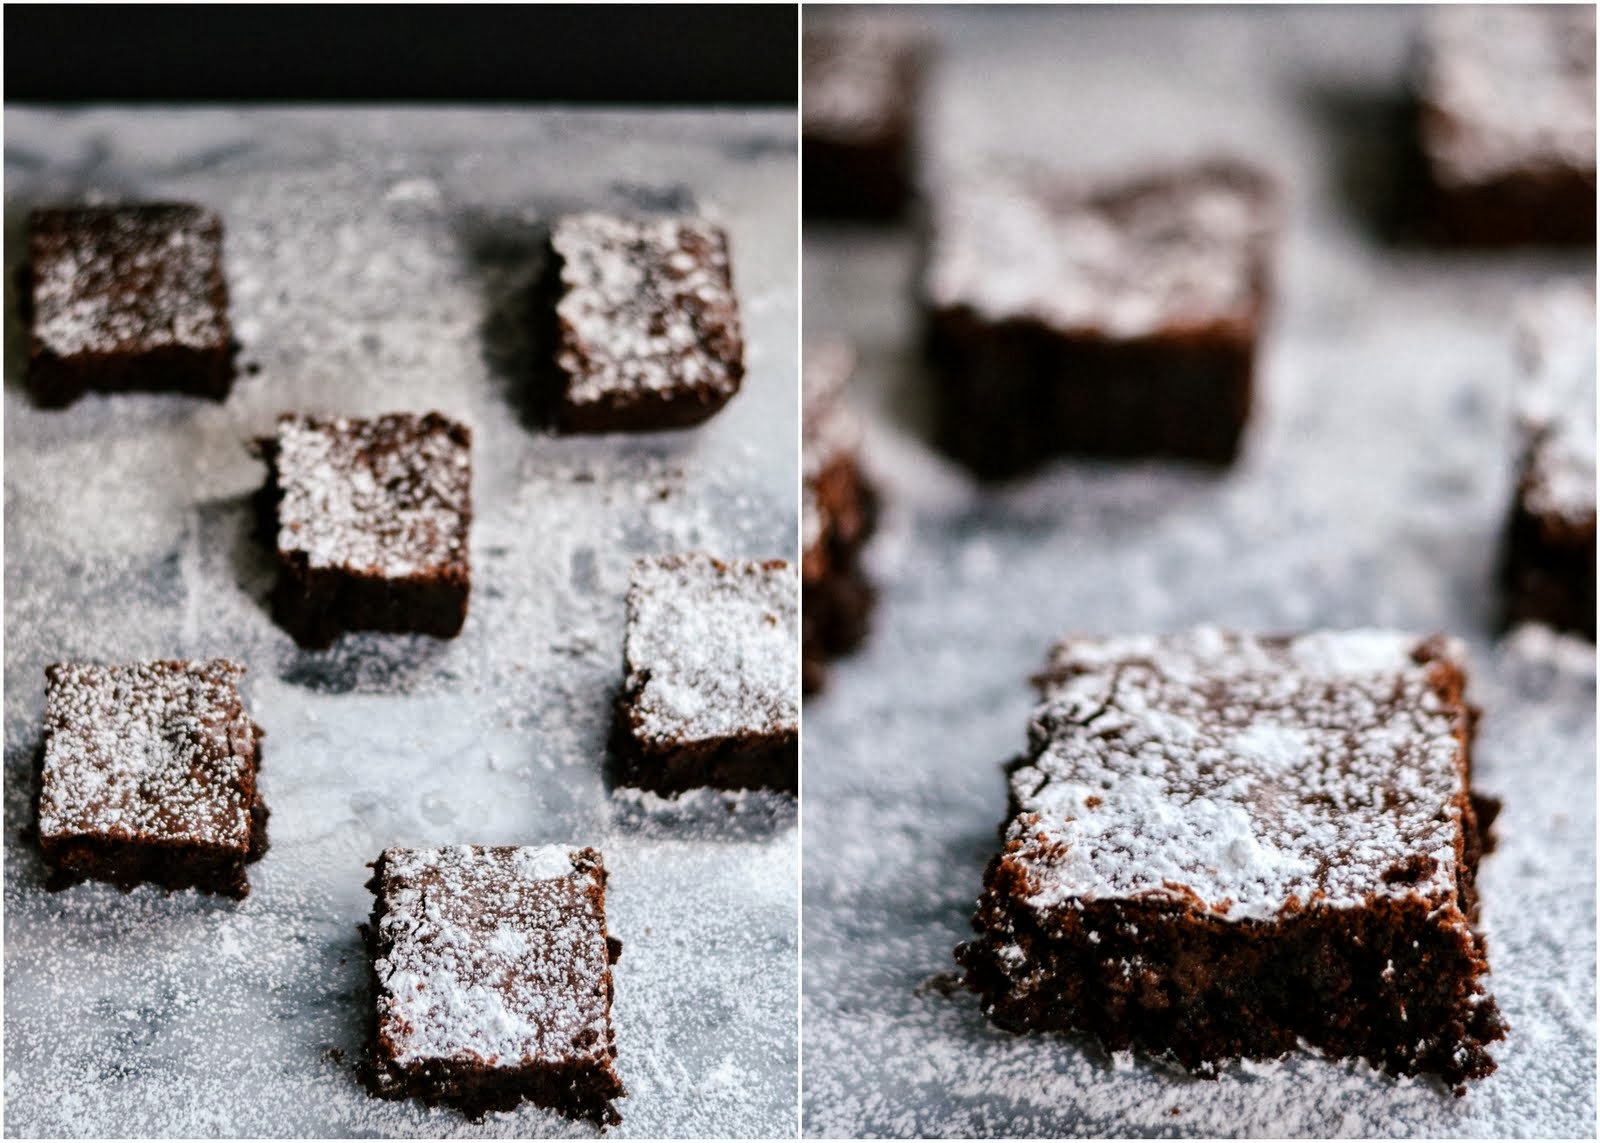
Seriously, just look at those swirls.  I'm totally in love.  Plus, there's chocolate, pecans and caramel involved. Oh yum.


Turtle Bars

Bottom Layer:
1 cup Butter (room temperature)
3/4 cup of brown sugar
1 egg yolk
1 tsp vanilla
2 cups of flour
1/4 tsp salt

3/4 cup pecans

Directions:
1)  In a medium bowl, mix together butter, brown sugar, egg, and vanilla.
2)  Mix in flour and salt.
3) Grease a 9x13 pan and line with parchment (this makes removing and cutting your bars way easier).
5)  Dump your crumbs into the pan, spread out evenly, and press down gently.
6) Press pecans lightly into crust.
7) Bake at 350 degrees for 18 minutes, or until crust is lightly browned.
8) Let cool, and prepare caramel.


Caramel:
1 cup brown sugar
1 cup butter
1 cup sweetened condensed milk
4 tbsp corn syrup

Directions:
1)  In a large saucepan stir together brown sugar, butter, sweetened condensed milk and corn syrup.
2)  Cook on medium-high heat stirring constantly.  Boil for 4 minutes.
3) Let stand 2 minutes, and then pour over crust.
4) Place in the fridge to set.


Chocolate layer:
1 1/2 cups Chocolate (good quality)
1/2 cup whipping cream

White chocolate:
1/2 cup  (about 4 oz) White Chocolate - good quality
2 tbsp whipping cream

Directions:
1) In a small sauce pan (or a double boiler), melt down your chocolate and cream, watching carefully to make sure it doesn't burn.  Melt your white chocolate and whipping cream at the same time.
2)  Pour chocolate over the caramel layer.  Smooth evenly.
3)  Drop spoonfuls of white chocolate over this layer, and then run a knife through it to make swirls.  Starting from the middle of the white chocolate and spiraling seemed to have good results.
*One tip about marbling is to stop early!  It's easy to overdo it, and then it just looks messy.
4) Pop it in your fridge to let it set, and you're ready to go!  We store ours in the fridge/freezer, otherwise they get a bit soft.


Your crumbs might be a bit crumbly when you dump them in your pan.  Don't panic, that's completely normal, just press them in gently and they'll be fine.

We placed our white chocolate on in 6 equally spaced blobs, and then used a butter knife to swirl them around.  Be careful not to go too deep and hit the caramel layer.


Happy baking!

p.s. ♥ kelsey

Saturday, 14 December 2013

Christmas Baking: 2012 recap

Every year I think I'll be a little more on top of things, especially concerning the blog.  Alas, I haven't been able to blog any Christmas recipes yet!  To make up for it, I thought I'd share some of my favorite recipes from last year, which are some of my family's favorites.

          
 White chocolate peppermint bark               Toffee pretzel bark                              Rainbow bars

          
              Butter tarts                             Chocolate mint patty cookies                  North Pole cupcakes

Get ready for an explosion of Christmas baking coming at you in the next week!  My family's been baking up a storm, and I can't wait to share.

p.s.  ♥ kelsey

Tuesday, 19 November 2013

Tuesday, 1 October 2013

tasty tuesday: bombshell brownies


These are hands down the best brownies I've ever had in my life.  They're perfectly dense and gooey (separating it from cake definitively), and have a slightly crackly top.  So so good.  

Now, honestly, I'm not the hugest brownie fan...despite my great love for chocolate.  I'm not sure why, but I don't crave them very often.  But when I do....I want these brownies, and only these.   Preferably warm out of the oven.  With ice cream.

Basically I want to eat all desserts warm out of the oven with ice cream on top.  Is that too much to ask?


Onwards chocolate lovers!  Bake, eat and be happy.


Bombshell Brownies

Ingredients:
1 cup butter (melted)
3 cups white sugar
1 tbsp vanilla extract
4 eggs
1 1/2 cups all-purpose flour
1 cup unsweetened cocoa powder
1 cup semisweet chocolate chips

Directions:
1)  Preheat your oven to 350 degrees, and lightly grease a 9x13 baking dish.
2)  In a large bowl, mix together your melted butter, sugar and vanilla.
3)  Beat in the eggs, one at a time, mixing well after each addition.
4)  In a small bowl, mix together flour, and cocoa powder.  Gradually stir this mixture into the wet ingredients until just blended.  Try not to mix more than necessary!
5)  Stir in chocolate chips.
6)  Spread batter in your greased 9x13 baking dish, and bake for 35-40 minutes. 
*We like to take our brownies out when just a teeny bit of batter sticks to an inserted toothpick, as this ensures the middle brownies are the perfect amount of gooey-ness.

Since these brownies are very sweet, we choose not to frost them, and love to eat them plain, or with a bit of icing sugar dusted over top.  And with ice cream....don't forget the ice cream.


p.s.   kelsey

Related Posts Plugin for WordPress, Blogger...