Showing posts with label design. Show all posts

Thursday, 28 February 2013

diy : watercolour stencil art

Today's DIY features my favourite art medium.... watercolours! I seriously LOVE watercolours and if I had to only go with one kind of paint, it would definitely be watercolours. Now, I know what you're thinking, aren't watercolours tricky and hard? NO, it definitely does not have to be. I'll give you some tips throughout this post to help you overcome any fears of this beautiful & dreamy art medium.

{ s u p p l i e s }
- watercolor paper 
(first tip of the day, don't use watercolors on regular computer paper, you definitely NEED the thicker material that watercolor paper provides!)
- good paintbrushes
- watercolour paints!
- cup of water
- a stencil : does this deer head look familiar? ;) for today's DIY I re-used a stencil I had printed off and cut out from my "Bleached Oh Deer Tank Top". Any stencil would work for this project though! I'm thinking elephants for my next one :)


{ i n s t r u c t i o n s } 

1. tape down your stencil to your watercolour paper

2. wet your brush with some water  
(tip #2, do NOT use too much water! make sure to scrape your brush against the sides of your cup or on a paper towel so you don't have an excess of water...too much water results in not only a really faded colour but it will also ruin even your strong watercolour paper)

3. dab your brush in the colour of your choice
(tip #3, choose a palette before hand and stick to a handful of colours for this project...ie. I made two pieces of art, one with warm colours: reds, oranges, yellows, and the other with cool colours: greens, blues, and purples.)

4. feel free to use a palette to mix your colours to get different shades. 
(tip #4, hardened watercolour paints will ALWAYS be darker than the colour you will see when you paint the colour on, so this is also a good way of seeing what the actual colour will be!)
Since I was too lazy to buy frames that would fit my watercolour pieces, I simply used an office clip and a tack to showcase these in our home. Cheap, easy, and lovely!

p.s. ♥ clara

Thursday, 15 November 2012

diy : movember sharpie mugs

In honour of Movember, I'm bringing to you a wonderfully easy, delightful, and hairy DIY in the form of moustache-y sharpie mugs! I've loved seeing these sharpie mugs all over the internet and some of my favs include this cute couple set from A Beautiful Mess, this lovely Pride & Prejudiced themed one. 

For my moustaches, I simply made an outline first and then filled it in with doodle-like scratches. 

On the other side of the mug, I "named" the kind of moustache the cup was representing... I got my inspiration from the photo below =]

Once you're done doodling, put your mugs in the oven and bake away!


Here's my end products: 
I just love how these turned out and can't wait to have a movember tea party with these mugs! 

Disclaimer: Hand-washing these mugs turned out fine, but I would definitely not recommend putting these through the dishwasher. 


Cheers,

p.s. ♥ clara


Friday, 5 October 2012

diy: tea tins

So if you know me in real life, you probably know that I am totally obsessed with tea.  If you just know me from the blogging world, you are probably starting to figure it out!

While I love buying, drinking, and talking about tea, I don't love having a thousand little baggies of it in my tea cupboard (yes my parents let me have an entire cupboard for tea!) that all look the same.

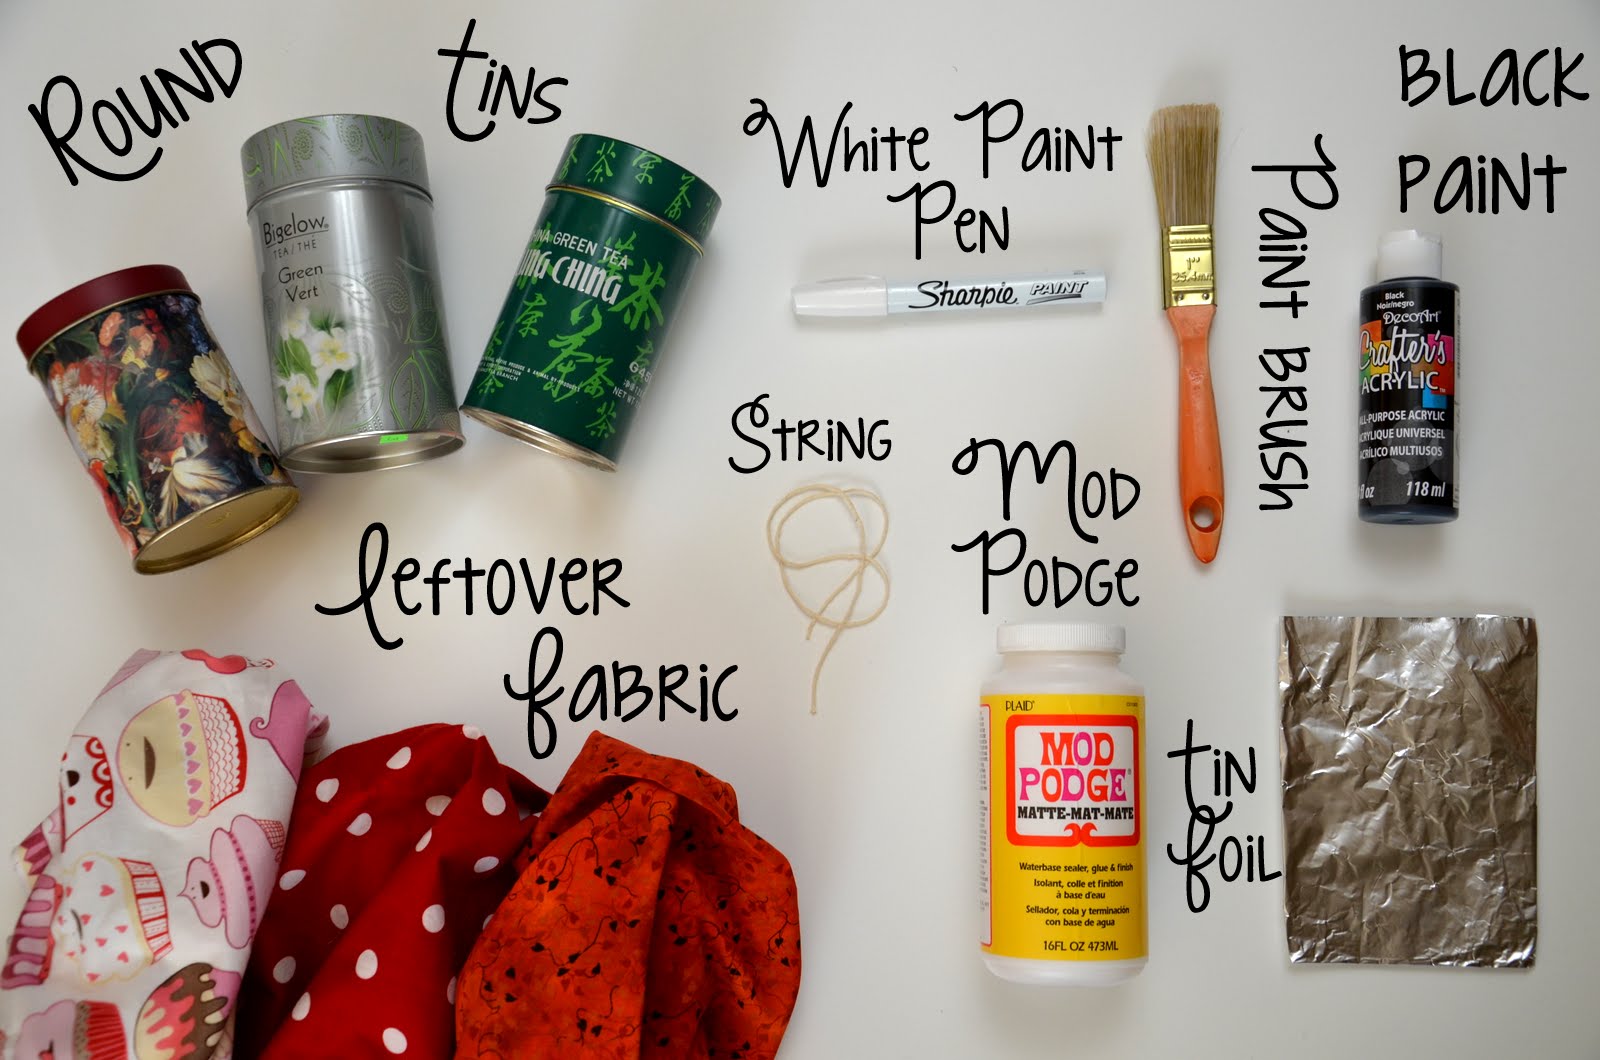
So today's DIY will show you how to customize your tea tins!  I was inspired to do this when I found all these cylindrical tins at MCC, I believe they were only 25 cents each!


 These were all the materials I used.  The string was for measuring the amount of fabric I needed to cover the tins, and the tin foil was what I put my paint on.


DIY - Tea Tins

1.  First I used a piece of string to measure the circumference of the round tin.  This way I knew exactly how much fabric to cut out.
2.  Laying out my awesome cupcake fabric, (which I got as a gift from my wonderful friend Ellen)  I used the string to measure the width of the fabric, and then used a small ruler to measure the height of the tin, and with a pencil marked where I needed to cut.
3.  I cut out the rectangle of fabric and made sure it fit the tin, cutting off any excess.
4.  Using a paintbrush, I brushed Mod Podge onto the tin, carefully lined up the fabric and pressed it onto the tin.
5.  Once all the fabric was glued to the tin, I went over it all with another layer of Mod Podge.
6.  While I set the tins aside to dry, I painted the lids black.
7.  Once the lids were dry as well, I used the white paint pen to write the name of the tea on the side.  This way if they are in my cupboard or on a shelf, they are easy to read.
8.  Finally I filled up the tins with favourite teas!

Thursday, 13 September 2012

diy : buttoned up infinity scarf


As the weather starts cooling down, I thought a perfect way to bring in the fall spirit was to do a diy based on my favourite fall accessory: scarves! I loveee scarves and I especially love the look and the coziness of infinity scarves, so enjoy this very simple and oh-so-cute scarf makeover!

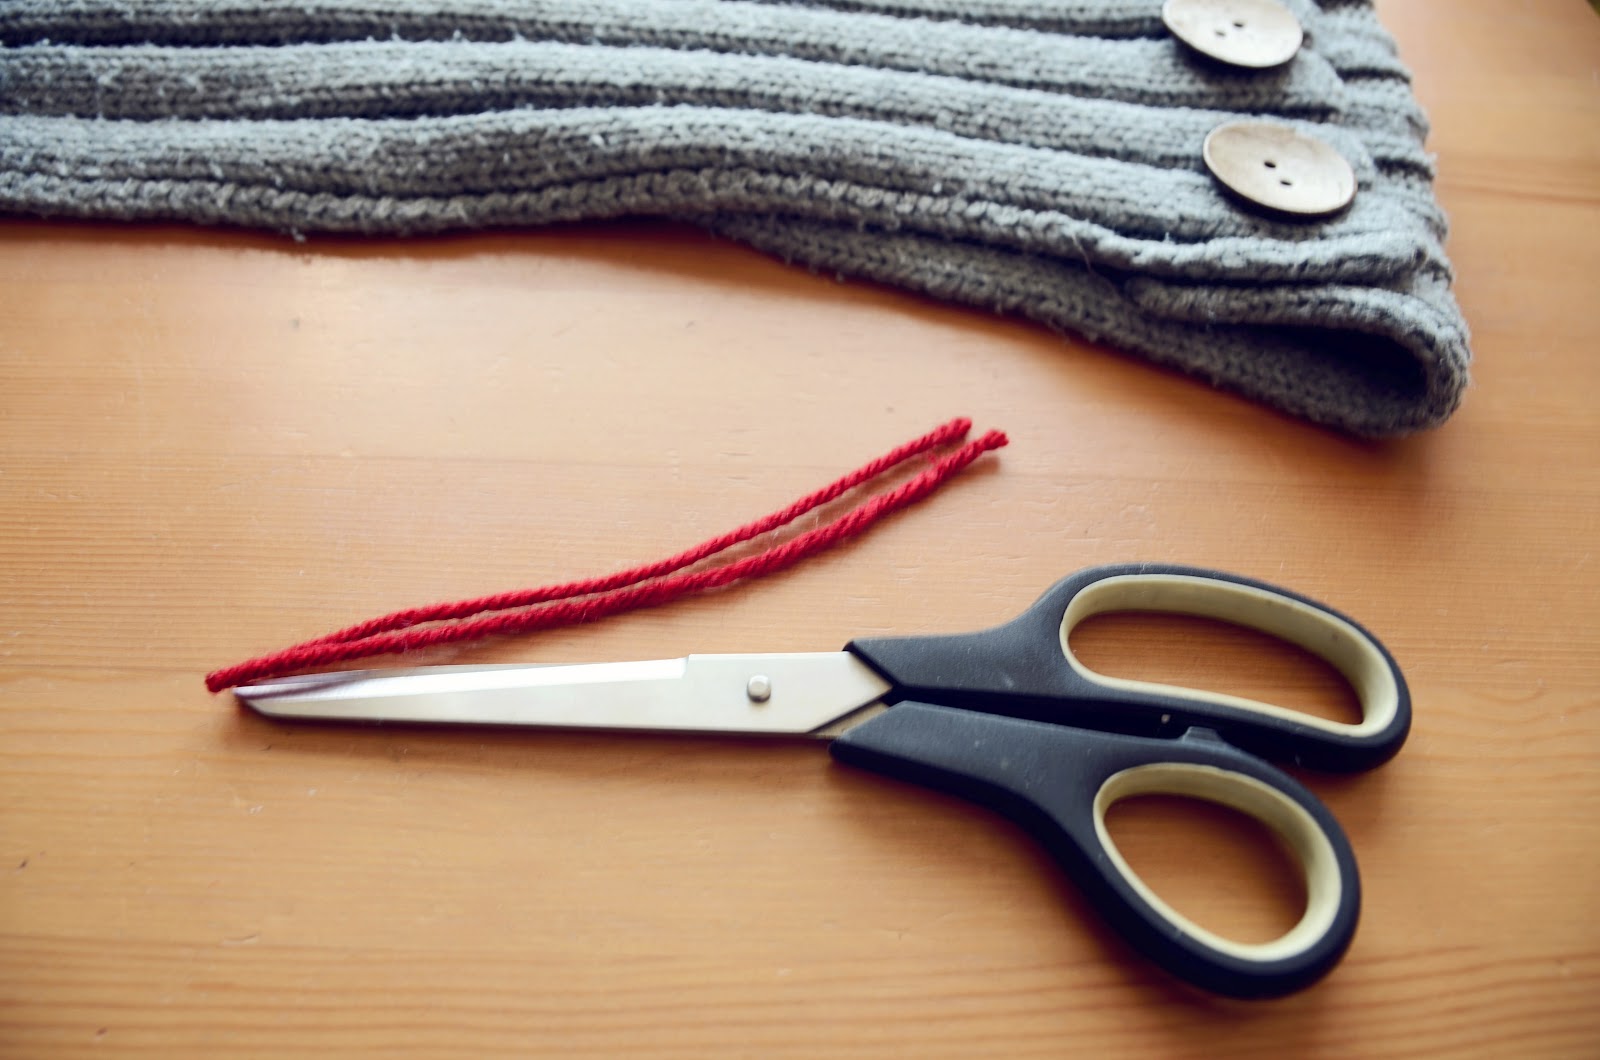
Supplies needed - some old knit scarves, buttons, and leftover pieces of yarn!

First things first, line up your buttons on one end of your scarf.
Make sure they're fairly evenly spaced apart!

Cut out 2 pieces of yarn for your buttons. I doubled up on the yarn for a little more stability.  I chose red yarn to go with my grey scarf to add some warmth and in (yes, very, VERY early) preparation for Christmas-time! I confess, I'm that person that sings Christmas songs months before December, gets ecstatic about the first snowfall, and drink litre after litre of eggnog as soon as it hits the stores.

{  I   N   S   T   R   U   C   T   I   O   N   S  }

1. Take your 2 pieces of yarn, grab a skewer (or something along those lines..) and poke your yarn through your button holes.
2. Using the skewer, poke your yarn through the scarf.
3. Double knot, triple knot, figure eight knot those pieces of yarn!
4. And voila, the back of your scarf should look like so. Grab a pair of scissors and snip off the edges and you're done! 

I am so in love with both of these scarves! They're so cozy and warm and wonderfully fall-ish. Look out for an outfit post featuring these in the future cause they are definitely going to become a staple in my fall wardrobe. Happy fall dear friends!!

p.s.   clara

Thursday, 9 August 2012

diy : doodle lyrics canvas

This week's DIY inspiration comes from some good old doodling in my journal! I was doing my devos in the morning and couldn't get this hymn out of my head... I just love the simplicity and honesty of hymns and I really liked how my little doodle turned out, so I decided I wanted this doodle hanging above our piano on a bigger scale. It ended up being the perfect DIY to spice up our home for us music lovers =)

Fortunately, I had a big canvas that had a rip in it that I thought would work perfectly for this DIY!
 

materials: mod podge/glue stick, paintbrushes, old music paper/old book pages, black sharpie


-  i n s t r u c t i o n s - 

1. paint the modpodge onto your canvas
2. place your old music sheets / book pages onto the canvas, layer as needed & rip the sides for more texture! 
3. start ... d o o d l i n g ! Your lines do NOT have to be perfect, they can be messy, and this really doesn't require any crazy artistic ability....seriously, just doodle! Go nuts & have fun =)
4. once the ink has dried from your doodling, paint another layer of mod podge on to finish it!


This was such a fun, inexpensive project, and I love having this musical themed canvas hanging above our piano! The only problem now is that I've gotten a little hooked on doodling now and have a million more ideas that I want to try using this framework...adding a splash of colour with watercolours, different quotes & lyrics, a backdrop of book pages instead of music sheets...oh the possibilities!


Do you have a favourite hymn? Or a song that you can't get out of your head? Or are you a crazy doodler like me? If so, you need to try this diy out! Hope you enjoyed this as much as I did =) 


p.s.  clara ♥


Thursday, 26 July 2012

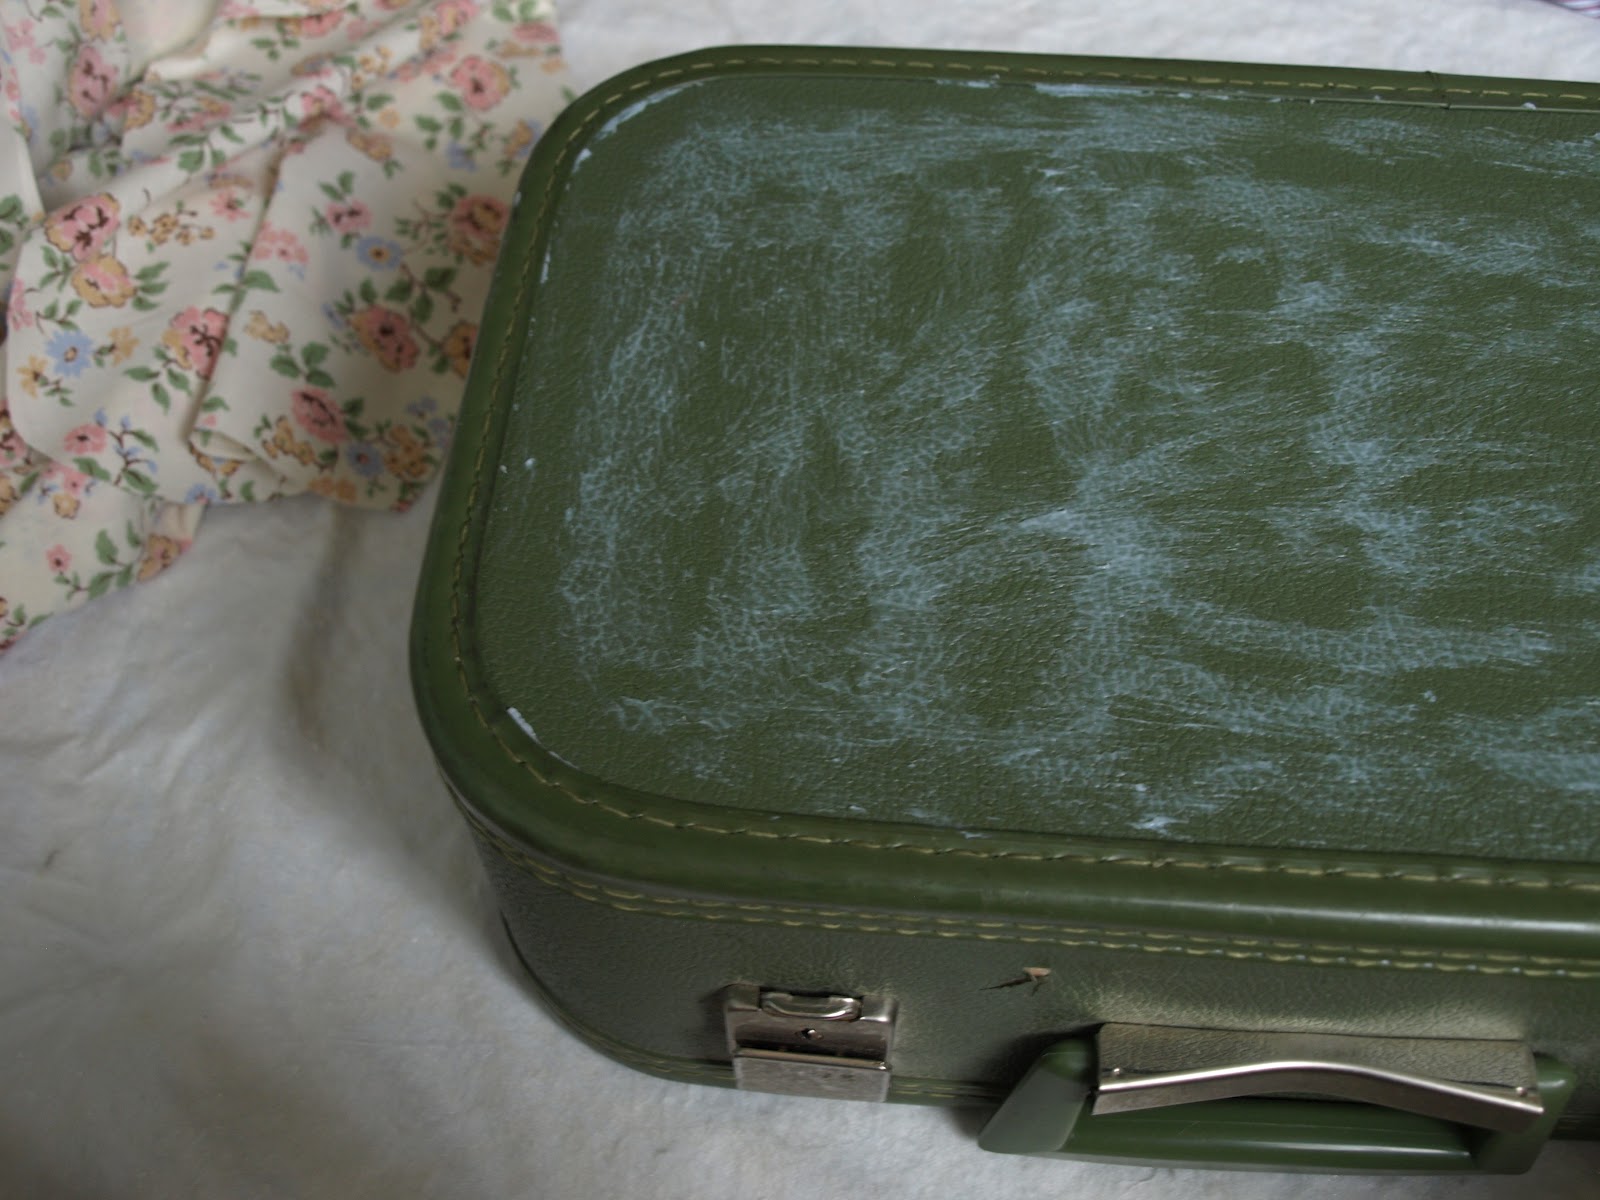
diy : revamped vintage suitcase


Today's diy is pretty dear to me and my husband because we inherited this darling little suitcase from Caleb's grandpa, who just recently passed away. The floral print was another thing that we picked up from grandpa's apartment, so we have a little bit of grandma's touch in there too. (She passed when Caleb was a little boy.) So I dearly hope you enjoy this diy, because it's a pretty special one that's being passed down the family line of the Hildebrands!


& Here's the inspiration for today's post... straight from one of my most favourite blogs =)


Supplies : vintage suitcase, linens, scissors, pencil, glue stick, mod podge & a palette knife.

 -  I N S T R U C T I O N S  -
1. Spread your print out on the suitcase and outline the edges of the suitcase.
2. Cut along the penciled outline, leaving a couple centimeters of room to tuck into the suitcase seam.
2.5 (shown below the instructions but not crucial to this project...) If you're totally happy with your choice in fabric, take a glue stick and go nuts on the face of your suitcase for additional "support"! I also ironed my fabric before tucking everything in and gluing it down.
3. Using your palette knife (or any other flat edge), tuck in the edges.
4. Lastly, using a small paintbrush, paint on mod podge along the seam to seal it.

Here it is before...
And after! I was so ecstatic that this project worked out so well!


Here's the inside of it... I'm not sure if I want to leave it or try and revamp it as well...I kind of like the mustard yellow...Any suggestions?

And here it is with a couple other things we picked up from grandpa's apartment, including a vintage book that has grandma's writing all over it, a crocheted table cover, and a collection of old vintage matchbooks from all over the Prairies!


I loved how this turned out and I think it'll quickly become a staple prop in my photoshoots :)
Hope you enjoyed this as much as I did!

p.s.  clara ♥

Thursday, 7 June 2012

diy: twine bottle vases


I'm not sure if pinterest was the best thing ever created, or the thing that will lead to my eventual demise.  I love spending time collecting DIY ideas, recipes and fashion tips.  Lots and lots of time, some might even say too much time. 

So I guess it is a good thing I have this blog to motivate me to actually make some of the DIY crafts I pin. 
This beautiful vase idea came from Wait Til Your Father Gets Home.


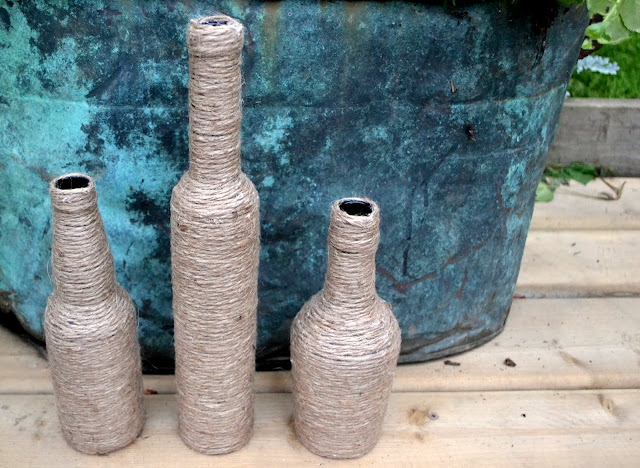
It uses twine to upcycle old bottles (I used a Baileys bottle, a beer bottle and a wine bottle) into beautiful and rustic looking vases.


Supplies:  Glue gun, glue sticks, bottles, jute twine, and scissors

1.)  Take your glue gun and glue twine all the way around the bottom of your bottle.
2.)  Keep wrapping twine around the bottle.  (I didn't use glue for all the twine)  After every 5 or 6 full wraps I would put a line about an inch wide of glue.  You can glue all the twine to the bottle if you want, but I found if I wrapped it tight that it wasn't necessary.
3.)  When you get to the neck of the bottle, the twine may start sliding up, so it may be a good idea to use glue for all the twine.
4.)  Glue twine all the way to the top of the bottle.
5.)  Get creative with what you put in the vases.  I used daisies, ferns, chives and other assorted flowers!


I love the interesting look of these three very different shaped bottles!


My mother was kind enough to let me steal lots of flowers from her garden.  She created a unique bouquet of ferns, snowballs, and chives!  It was my favourite of the three.


A big thanks to Kelsey for helping with this, and taking most of the photographs.
Hope everyone is having a fabulous week!

ps: jordyn ♥ 
Related Posts Plugin for WordPress, Blogger...