Showing posts with label thrifting. Show all posts

Thursday, 7 February 2013

diy : vintage framed map art

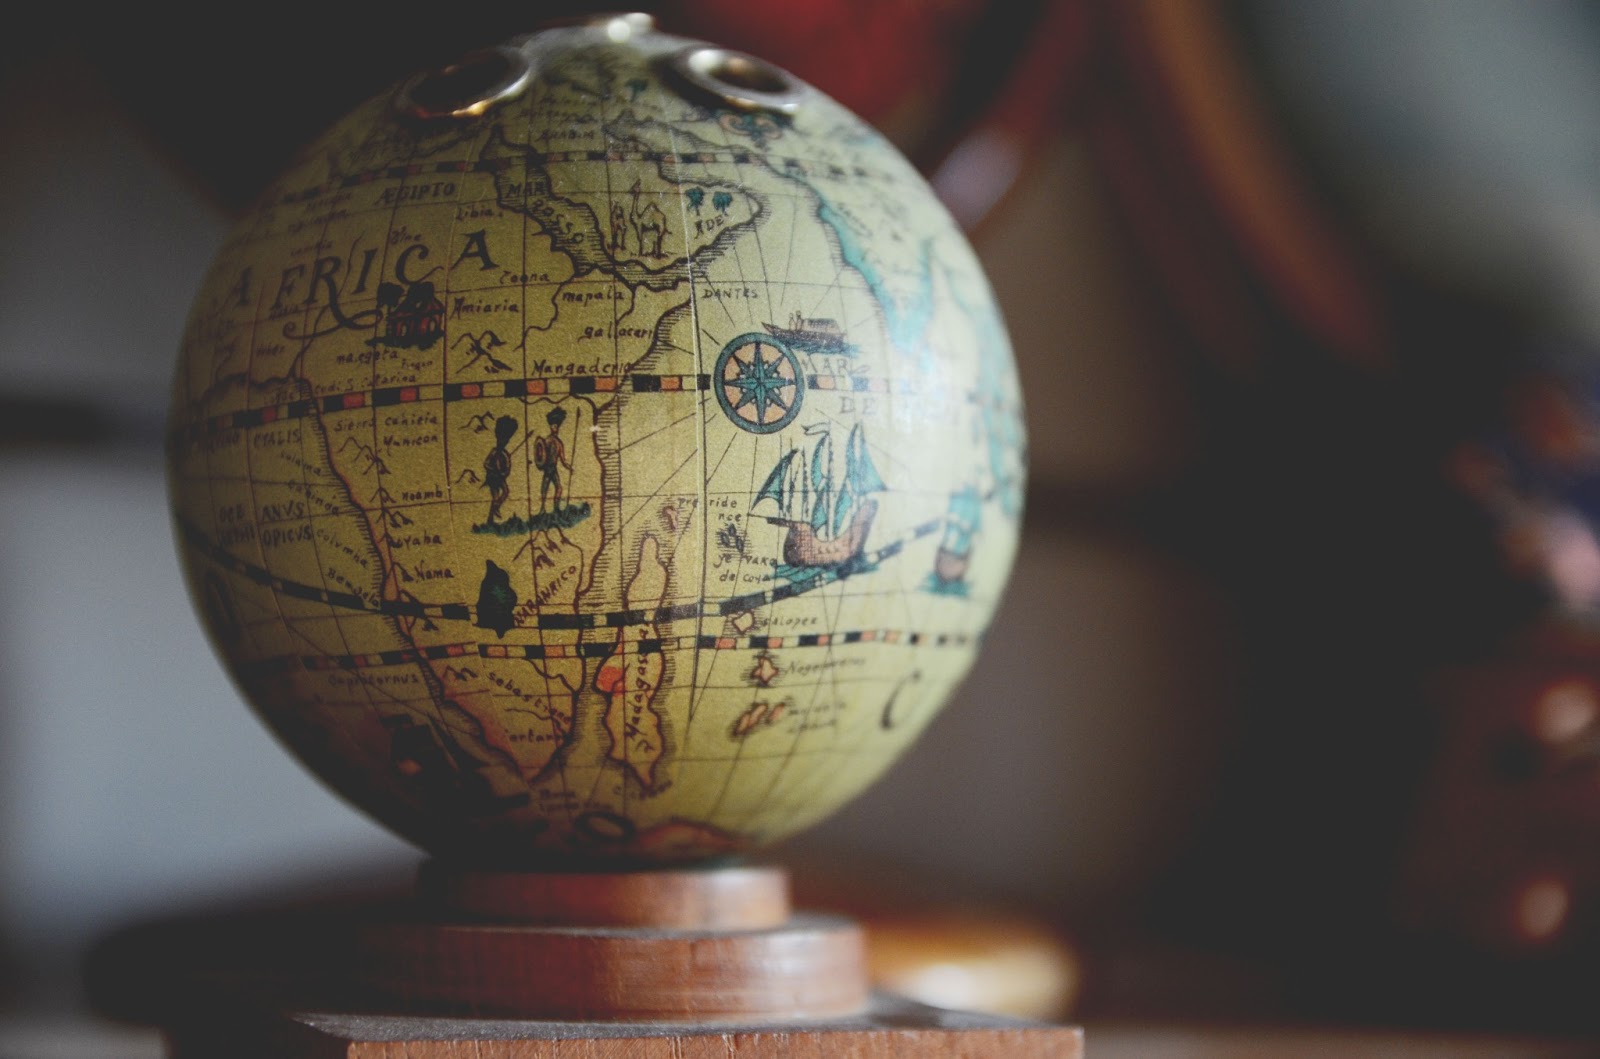
I love to travel. It's something that I have been extremely blessed to have been able to do a lot of and a love that was passed down to me from my parents, who dragged my brother and I all over the world :) Thankfully, I'm married to a man who loves it just as much as I do! We dedicated our study to have a "travel" and "around the world" theme to it - to name a few, we have pieces from Haiti, Kenya, Ethiopia, Korea, France, and India decorating our walls and studying in this room just makes me restless to get up and go! 
For this diy, I thrifted some empty frames and a lovely old Canadian School Atlas from the 1940s and began to cut out maps of places that are near and dear to our heart. 
When cutting out your maps, simply be aware of the different sizes of your frames! This diy is so simple but adds such a great personal touch to your wall. 

The maps that I used for our wall include a map of... North America, Africa, Korea, the world and good old Alberta!
I also have to point out my wonderful vintage suitcases! The top one is from Caleb's grandpa and the one on the bottom was gifted to me from his parents, who know my love for vintage pieces. 
As I said, Caleb and I absolutely love to travel, so I thought I'd include a couple favourite places along with some bucket listers - 

{ 5 places I've fallen in love with }  -  trekking through the Himalayas in India (this is where my romance with caleb started!), being awed by the architecture of Antoni Gaudi in Spain, the lush green mountains of S.Korea, working at an orphanage in Haiti, and going on an adventure of a safari in Kenya.

{ 5 place I'd love to go to } - the summit of Mount Kilimanjaro in Tanzania, the canals of beautiful Venice,  the Inca site of Machu Picchu, Topkapi - the oldest and largest palace in the world in Istanbul, and the old city of Jerusalem.


If you could travel anywhere in the world, where would you go?

p.s.   clara

Saturday, 10 November 2012

outfit post : the countdown begins...

Welcome, dear readers, to an Edmontonian's November outfit! That's right, we have snow...LOTS of it, and I am absolutely loving it!! So it was only natural for me to do a Christmas-y outfit, because I began the countdown as soon as Halloween was over =] 
 
Toque : Korea  |  Scarf : thrifted  |  Sweater : thrifted & made from this diy  |  
Leggings : Forever XXI  | Boots : Urban Outfitters
Happy Countdown to Christmas, friends!


p.s.   clara

Thursday, 18 October 2012

diy : cozy fall elbow patches

Today's diy comes from my love of oversized, cozy sweaters and all the adorable elbow patches I've been seeing lately on pinterest, my campus, and fashion magazines! 
All you need are: a cozy cardigan, extra fabric, some thread, a needle, scissors, and a cardboard heart cut-out! I purchased my cardigan & red fabric at the local thrift store, so this project ended up being under $10 =]
First, use your heart cut-out to draw on a heart on your coloured fabric. Then line it up approximately with where your elbow should be on your cardigan (Sorry the order of my photos are mixed up!)

And secondly (&lastly), start sewing! This project doesn't require a sewing machine, any crazy sewing skills, or a lot of time. I didn't worry about how accurate my stitches were and still loved how it turned out. Messy and cute and totally original.

And you're done! That's it, so simple and such a cute detail to dress up any plain cardigan and cozy it up!

Stay warm, friends!


p.s.   clara

Friday, 5 October 2012

diy: tea tins

So if you know me in real life, you probably know that I am totally obsessed with tea.  If you just know me from the blogging world, you are probably starting to figure it out!

While I love buying, drinking, and talking about tea, I don't love having a thousand little baggies of it in my tea cupboard (yes my parents let me have an entire cupboard for tea!) that all look the same.

So today's DIY will show you how to customize your tea tins!  I was inspired to do this when I found all these cylindrical tins at MCC, I believe they were only 25 cents each!


 These were all the materials I used.  The string was for measuring the amount of fabric I needed to cover the tins, and the tin foil was what I put my paint on.


DIY - Tea Tins

1.  First I used a piece of string to measure the circumference of the round tin.  This way I knew exactly how much fabric to cut out.
2.  Laying out my awesome cupcake fabric, (which I got as a gift from my wonderful friend Ellen)  I used the string to measure the width of the fabric, and then used a small ruler to measure the height of the tin, and with a pencil marked where I needed to cut.
3.  I cut out the rectangle of fabric and made sure it fit the tin, cutting off any excess.
4.  Using a paintbrush, I brushed Mod Podge onto the tin, carefully lined up the fabric and pressed it onto the tin.
5.  Once all the fabric was glued to the tin, I went over it all with another layer of Mod Podge.
6.  While I set the tins aside to dry, I painted the lids black.
7.  Once the lids were dry as well, I used the white paint pen to write the name of the tea on the side.  This way if they are in my cupboard or on a shelf, they are easy to read.
8.  Finally I filled up the tins with favourite teas!

Saturday, 1 September 2012

outfit post : polka dots & lace

I like polka dots and everyone who follows this blog probably already knows my obsession with lace...so this outfit post should be old news, but I still had to share =] This lace vest has become my favourite go-to summer item and it goes with pretty much every dress I have!
polka dot dress : bluenotes   |   lace vest : bluenotes
    shoes : forever XXI   |   fedora : this diy
necklace : thrifted   |   wallet : ebay

I'm gonna miss these warm summer nights...


p.s.   clara

Sunday, 5 August 2012

weekly wrap-up : family, food & festivals

This week has been wonderfully busy and full of all sorts of summer fun for me! To kick off the week, Caleb & I spent an amazing weekend with his side of the family for Dad's 60th birthday in Southern Alberta. We were ecstatic that all of his siblings were able to make it and we had a blast with our nieces and nephews!

The kids were ecstatic when Uncle Caleb dragged the sprinkler under the trampoline to cool down! 

Here's all of us celebrating Dad's birthday at Heritage Park in Calgary =) 

Enjoying a lazy morning with some delicious blueberry pancakes! Mmm....

I had to include this one because I loveee when I walk into our apartment after a long day of work and I can hear Caleb playing my favourite hymns and worship songs on the piano as I'm coming up to our suite. 
This man just melts my heart!

And because my man is so amazing, he took me thrifting and we found: 
Mr. & Mrs. Hoot, our new adorable owl salt & pepper shakers! 

And to wrap up our week, Caleb & I went on a double date with our lovely friends Danielle & Mike to a Heritage festival in Edmonton! Here's us in front of the Vietnamese tent =)

waiting for my favourite Dutch treat... poffertjes!

The food was amazing and we tried everything from Serbian to Egyptian to Indonesian. I also loved seeing all the traditional dances, songs, and costumes. This is a major reason why I'm so proud to be Canadian. I love that different cultures and peoples are celebrated! It makes life so much more vibrant and beautiful.

& of course, we had to visit the Korean Pavillion =)

Confession time: no word of a lie, when I was younger, I actually used to be part of a Korean girls dance group that used to perform this traditional fan dance at festivals like these in Ontario!


Hope you all are enjoying your summer days as much as I am! 

p.s.  clara ♥

Saturday, 14 July 2012

outfit of the day: {lace and cameras}

{Clara's wearing: shirt/urban outfitters, vest/bluenotes, skirt/old navy, tights/ebay, shoes/borrowed from Kels}

It was so much fun turning the tables on Clara....and putting her in front of the camera instead of behind it!


The earrings that she's wearing are gift from me!  {You can learn how to make your own HERE}

And a fun fact: The vintage brownie camera she's holding is my grandpa's from the 60's!


What a cutie!


This girl has such sweet style...I would gladly raid her closet any day!

ps: kelsey (&clara) ♥

Friday, 13 July 2012

soul sisters


I had the BEST time with Clara when she came out in June!  And at the end of a couple of our photoshoots, we decided to take a few photos together!


We're really just two big goofs.
And I love it.


One of my favorite things about our friendship is that no matter how much time has passed since we saw each other last....we always pick up exactly where we left off.  


We share so many of the same passions, and I'm sincerely hoping that one day we'll be able to live MUCH closer together!


I am so excited that we will be together again for our beautiful friend Jenna's wedding on July 22nd!  What a treat to be together twice within less than two months!


She is my soul sister, and I love her to pieces!

“Can miles truly separate you from friends... If you want to be with 
someone you love, aren't you already there?”
-Richard Bach

ps: kelsey (&clara) ♥

Thursday, 21 June 2012

diy : cake stands


While I was visiting in BC this past week, Kelsey and I made these adorable little cake stands from some gorgeous thrift store finds. We saw this idea in a cute little vintage store while shopping for a bridal shower gift and couldn't wait to try it out ourselves! 


Aren't they just gorgeous? The beauty of this diy is found in its simplicity: it costs next to nothing (we spent less than $5) and it takes less than 5 minutes to put together! Yes, we know... AMAZING. 


1) Apply a generous amount of glue to the bottom of your cup (or candlestick).
2) Press the cup firmly onto your plate.
3) Use a q-tip to clean up any excess glue.
4) Hold the cup in the center of your plate until the glue starts to set.
5) Let the glue dry completely before using (minimum of 24 hours).

**We recommend that you hand-wash these only!


Seriously though, for such a simple concept, the end result is stunning! We absolutely fell in LOVE with these little cake stands. They're so delicate, vintage-y, and lovely... perfect for a tea party!
& if you're looking for the perfect gift to give away to those bakers in your lives, they would probably love these adorable little stands to show off their yummy creations!

Hope you enjoyed these as much as we did!
ps: kelsey & clara ♥


Related Posts Plugin for WordPress, Blogger...