So at the beginning of this summer Kelsey and I started joking that it would be "the summer of ice cream".
Well folks, that is no longer a joke! This is our third batch of ice cream, and every time we make it, we find inspiration for even more different types!
The inspiration for this delectable treat came from a huge box of cherries one of our Dad's associates brought us. I was so stoked, I absolutely love cherries. However, I must admit that 8 bags of them seemed a bit daunting. Then I remember that my favourite Blizzard from Dairy Queen used to be chocolate covered cherry - and the idea for this ice cream was formed.
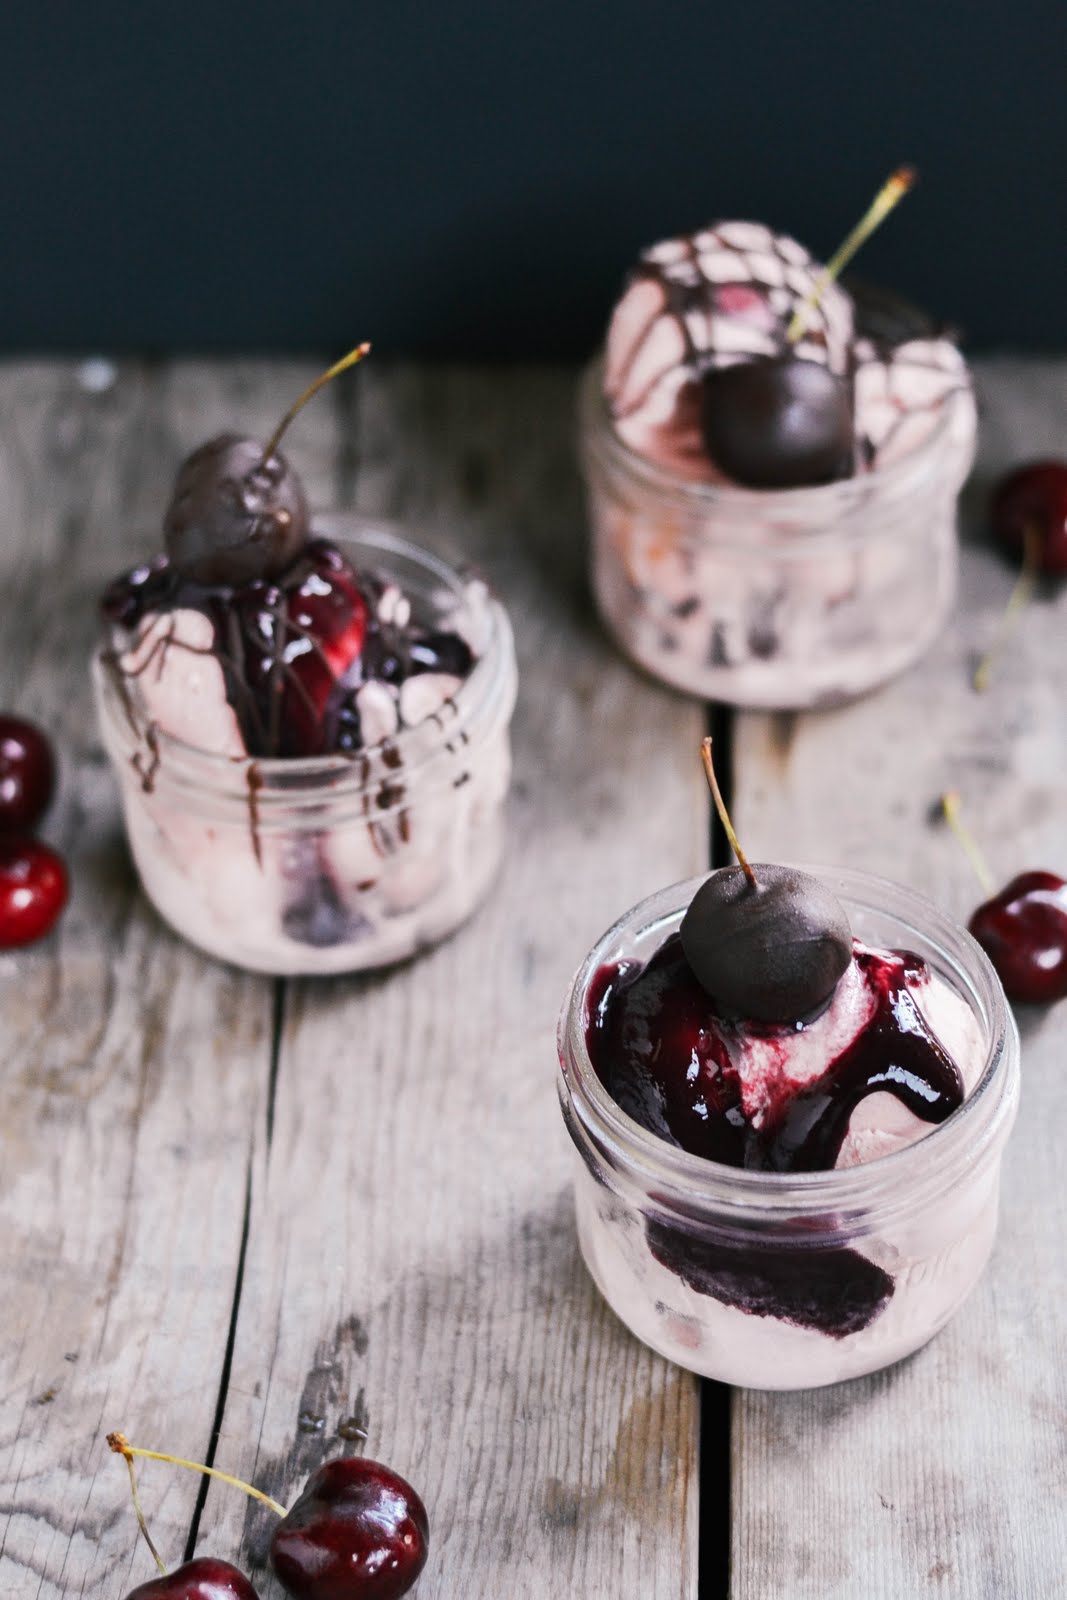
Chocolate Covered Cherry Ice Cream
Ingredients:
4 eggs
2 cups sugar
3 1/2 cups milk (we used 2% you could use 1% or skim, but it won't be as creamy)
5 cups whipping cream
2 Tbsp vanilla
1/2 cup cooked cherry purée
1/2 tsp salt
Chocolate covered cherries
20 cherries
1 cup chocolate chips (melt for dipping)
*Ice and coarse salt - this will be needed for the ice cream maker
Directions:
Cherry Purée
1. Take 4 cups of cherries (halved and pitted) and with 2 tablespoons of water cook them in a medium pot over medium heat.
2. Cook until cherries really start to break down (I think I cooked it about 45 minutes, but if you watched it carefully, you could turn up the heat and cut down the time. You want a lot of the liquid to cook off).
3. Blend the cherries until completely smooth.
4. Measure 1/2 cup out for the ice cream.
5. Use the leftovers as topping for your ice cream! (I had maybe a 3rd of a cup left over).
Chocolate covered cherries - You can do this while the rest of your ice cream is churning.
1. Cut about 20 cherries into quarters (though you may want to leave some whole for topping the ice cream!)
2. Melt chocolate.
3. Dip cherry quarters into chocolate, and place on parchment paper to harden. (I did this on a cookie sheet and then placed the whole thing into the fridge).
Ice Cream:
1. Beat eggs in a large bowl.
2. Gradually incorporate sugar.
3. Add the rest of the ingredients (including cherry purée, but NOT ice or coarse salt) and mix well.
4. Place mixture in the barrel of your ice cream maker, and follow manufacturer's instructions. This will include layering ice and salt around the edges of the ice cream maker. Ours called for about 2 inches of ice, and then 1/2 cup of salt, repeated until the ice reached the top of the maker. Then we attached the motor, and let it run for about 45 mins. We added more ice about half way through. On our machine you know the ice cream is finished when the motor stops running. Yours may be different!
5. When the ice cream is finished, spread a layer into your container, and then place some of the chocolate covered cherries on top. Add another layer. Do this as many times as you would like. We found that a lot of them would sink, so we put lots on the top layer.
6. Serve with whole cherries, whole chocolate covered cherries, chocolate drizzle, and cherry purée.

This was so much fun to make, and just as much fun to eat! We ate it in celebration of the birthday of a close friend of mine. It was so gorgeous, and a pleasure to share with people.

"Without ice cream, there would be darkness and chaos."
True fact.
Let us know if you have any yummy flavours you think we should experiment with!
We are thinking of tasty things we can find on our farm/garden - blueberries, blackberries, mint, and lavender! All sorts of wonderful flavours just begging to be used!
We are thinking of tasty things we can find on our farm/garden - blueberries, blackberries, mint, and lavender! All sorts of wonderful flavours just begging to be used!
p.s. ♥ jordyn (and kelsey)


oh em gee... I WANT! this looks amazingggg!
ReplyDeleteYour pictures are absolutely amazing! I wish I could capture food like you! Tell me your secret please :)
ReplyDeleteaww...thank you! and my secret is just a lot of practice! ;)
Delete