So if you know me in real life, you probably know that I am totally obsessed with tea. If you just know me from the blogging world, you are probably starting to figure it out!
While I love buying, drinking, and talking about tea, I don't love having a thousand little baggies of it in my tea cupboard (yes my parents let me have an entire cupboard for tea!) that all look the same.
So today's DIY will show you how to customize your tea tins! I was inspired to do this when I found all these cylindrical tins at MCC, I believe they were only 25 cents each!
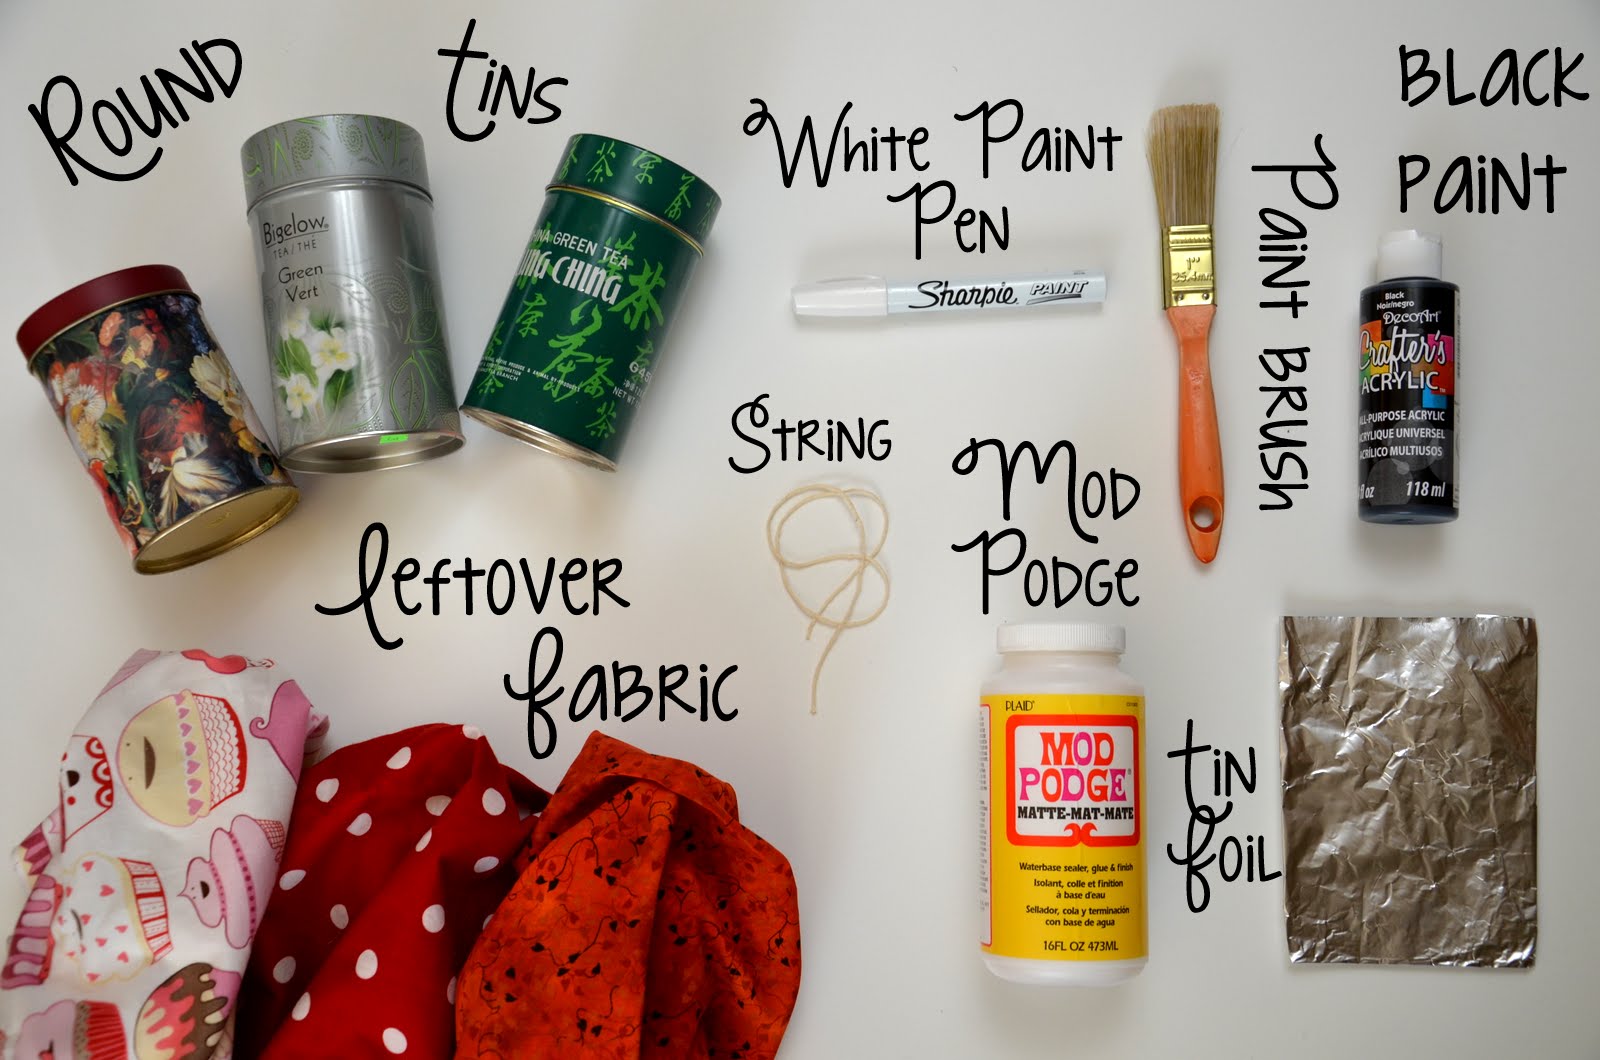
These were all the materials I used. The string was for measuring the amount of fabric I needed to cover the tins, and the tin foil was what I put my paint on.
DIY - Tea Tins
1. First I used a piece of string to measure the circumference of the round tin. This way I knew exactly how much fabric to cut out.
2. Laying out my awesome cupcake fabric, (which I got as a gift from my wonderful friend Ellen) I used the string to measure the width of the fabric, and then used a small ruler to measure the height of the tin, and with a pencil marked where I needed to cut.
3. I cut out the rectangle of fabric and made sure it fit the tin, cutting off any excess.
4. Using a paintbrush, I brushed Mod Podge onto the tin, carefully lined up the fabric and pressed it onto the tin.
5. Once all the fabric was glued to the tin, I went over it all with another layer of Mod Podge.
6. While I set the tins aside to dry, I painted the lids black.
7. Once the lids were dry as well, I used the white paint pen to write the name of the tea on the side. This way if they are in my cupboard or on a shelf, they are easy to read.
8. Finally I filled up the tins with favourite teas!
You don't need a ton of Mod Podge on the outside of the tin. While it does dry clear, it tended to pool around the top lip of the tin, and left tiny bubbles.
Also if you do get Mod Podge on the very top of the tin, where there isn't any fabric, it may make it hard to get the lid back on, but once it dries, it is easy to scrape off with your fingernail!
I used black acrylic paint, and while it looks good, it tended to scrape off the tin a bit, so it may be better to use a different type of paint.
First I wrote the type of tea (Earl Grey, Green etc) on the lid with a pencil, and went over it with the white paint pen.
Until this year I didn't think I liked Earl Grey tea, and then I found out I was steeping it way too long! Once I made sure to time how long it steeped (about 2-4 minutes) I fell in love with it. Especially the Earl Grey Lavender I got at our local Farmer's Market from my friend Karla over at Karla's Specialteas.

I am extremely happy with the how these turned out. I will definitely make more, though I may switch it up and use tissue paper like I did in my Jam Jar Votive DIY, or even tear up old sheet music to use!
These cute tins will definitely spruce up my tea cupboard and make things interesting!
p.s. ♥ jordyn


I love this idea! I've been looking and looking for cute tea tins and have come up empty so I'm downright giddy to get to try this.
ReplyDeleteDoes mod podge smell like anything after it dries? I've never used it before. I don't want to hurt my teas.